Wth the basic knowledge of iOS development that we have accumulated so far. We can compose a complete app. So let's get started.
Create Project and Place Visual Objects
First we create another project as Intro7.
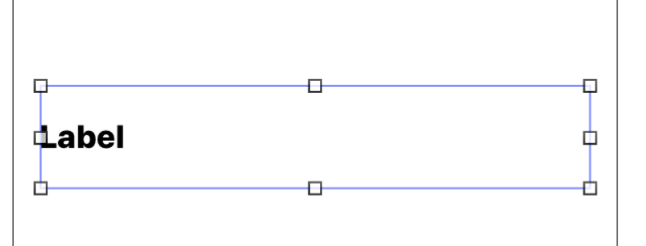
Next, we place a label at the top half of the storyboard canvas. Extend the label to almost the edge of the canvas. There should be dotted lines guiding us.

The attributes of label should be as follows:

Next we place a button at the center. Expand out the button a bit.

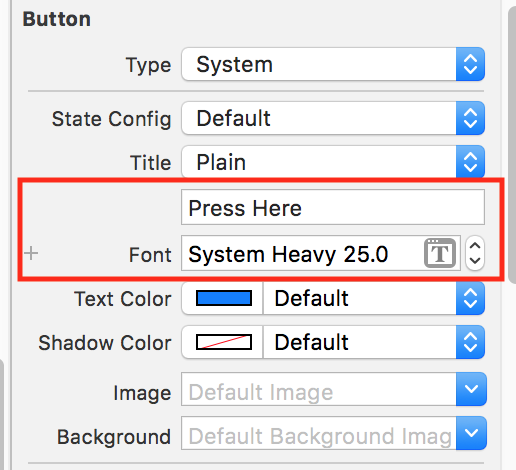
The attributes of button is as follows:
The end result should be as follows:

Linking Label and Button to View Controller
Next, we would like to link the label and button that we created to the view controller. First, Make sure that we are at the storyboard page. Then we hide the panes. (Note: Pane hiding is optional, it depends user preference) and switch to assistant editor mode.

The resulting screen show be as follows:

Next, increase the line spacing between the line "class ViewController: UIViewController {" and the next line starting "override func…". If we look at the image above, go to line 12 and increase the line spacing. Add a comment "// Property" as shown below:
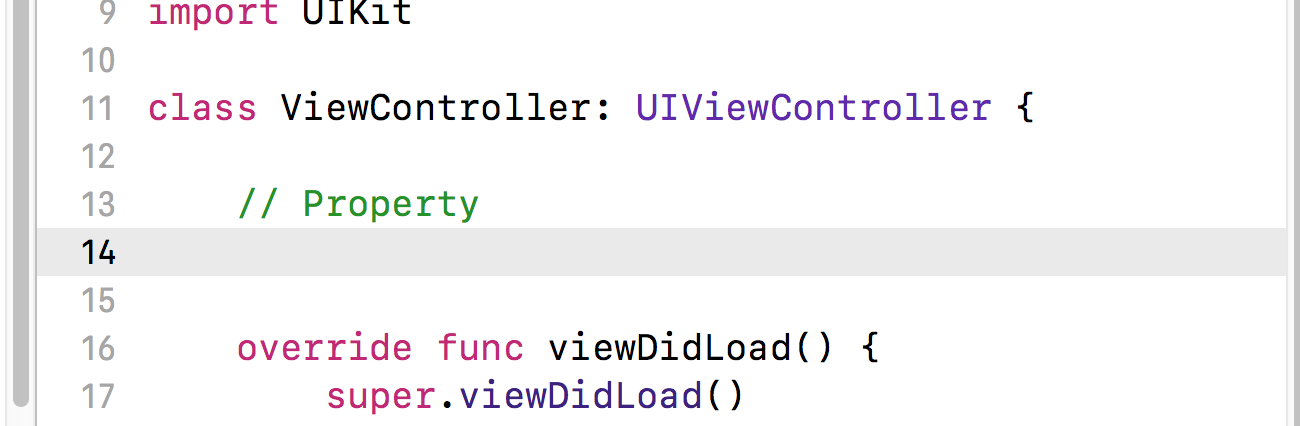
Now, we click ctrl+drag the label to line 14 shown above or just below the property comment.
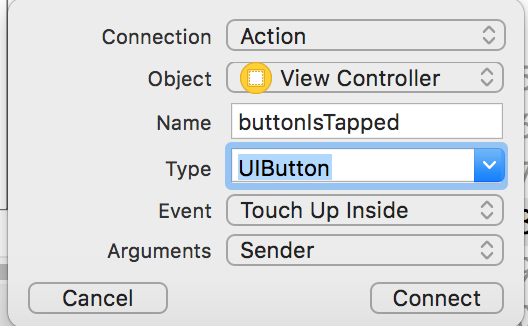
On release the mouse click, fill in the data as shown below:

Click Connect. The resulting line created should be as follows:

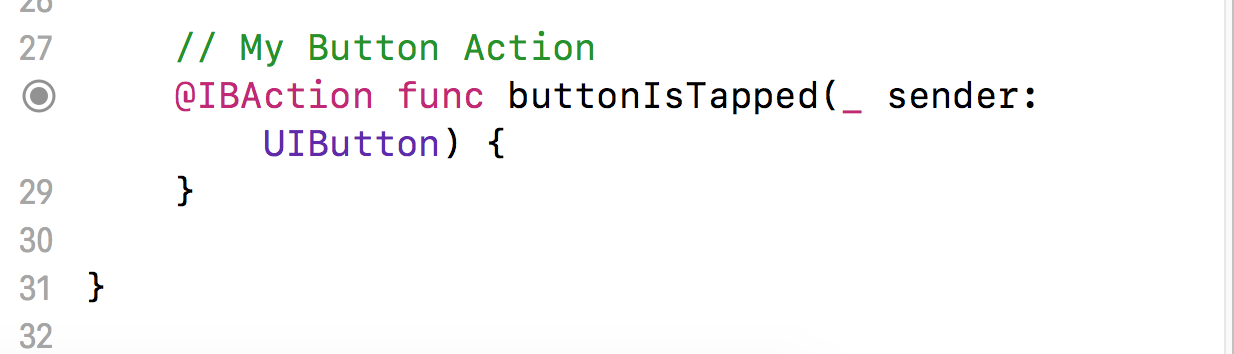
Next, we increase line spacing before the last closing braces. Add the comment My Button Action as shown below.

Next, control and drag the button to line 28 just below the comment. The details show be as follows. Remember to change the connection type from outlets to Action.
Click Connect.
The resulting lines created is as follows:
Finally, we can add instruction to tell the system what to do when the button is tapped. Add the following lines myLabel.text = "The text appear when you tap the button"

The resulting code should be as follows:

Please note that this is a complete app. We can run the app the clicking on the run icon.

Once the simulator is running, we should see a simulated phone as shown below

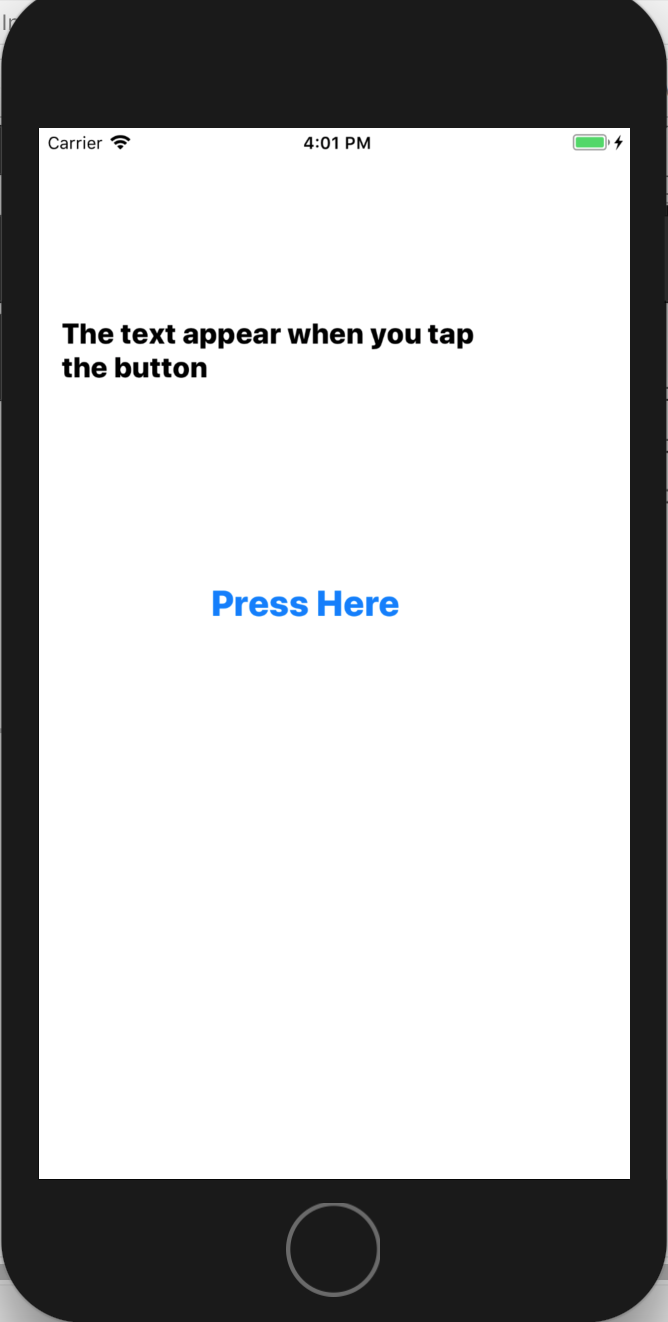
Click on the button and the resulting screen is as below:

It seems that the text is too long. So we stop the app simulation by clicking on the stop button.

Once the app is stopped, try to increase the vertical height of the label as shown below:
Next we increase the label lines to 2.

Now, when we run the app again, the resulting text will be as follows:
This is the complete process of creating an app with a very basic function.
***
No comments:
Post a Comment