Now, we have the basic knowledge of using xcode, storyboard and placing and linking visual object. We will focus on each label and button.
This session, we will focus on label. The visual object Label belongs to part of the class UILabel. Class is the template of the master code that are design for label. When we create a visual object, we copy the code template from the class (UILabel) so that we do not need to write the same label function again. Once the code template is copied, we can modify certain attribute to suit our need.
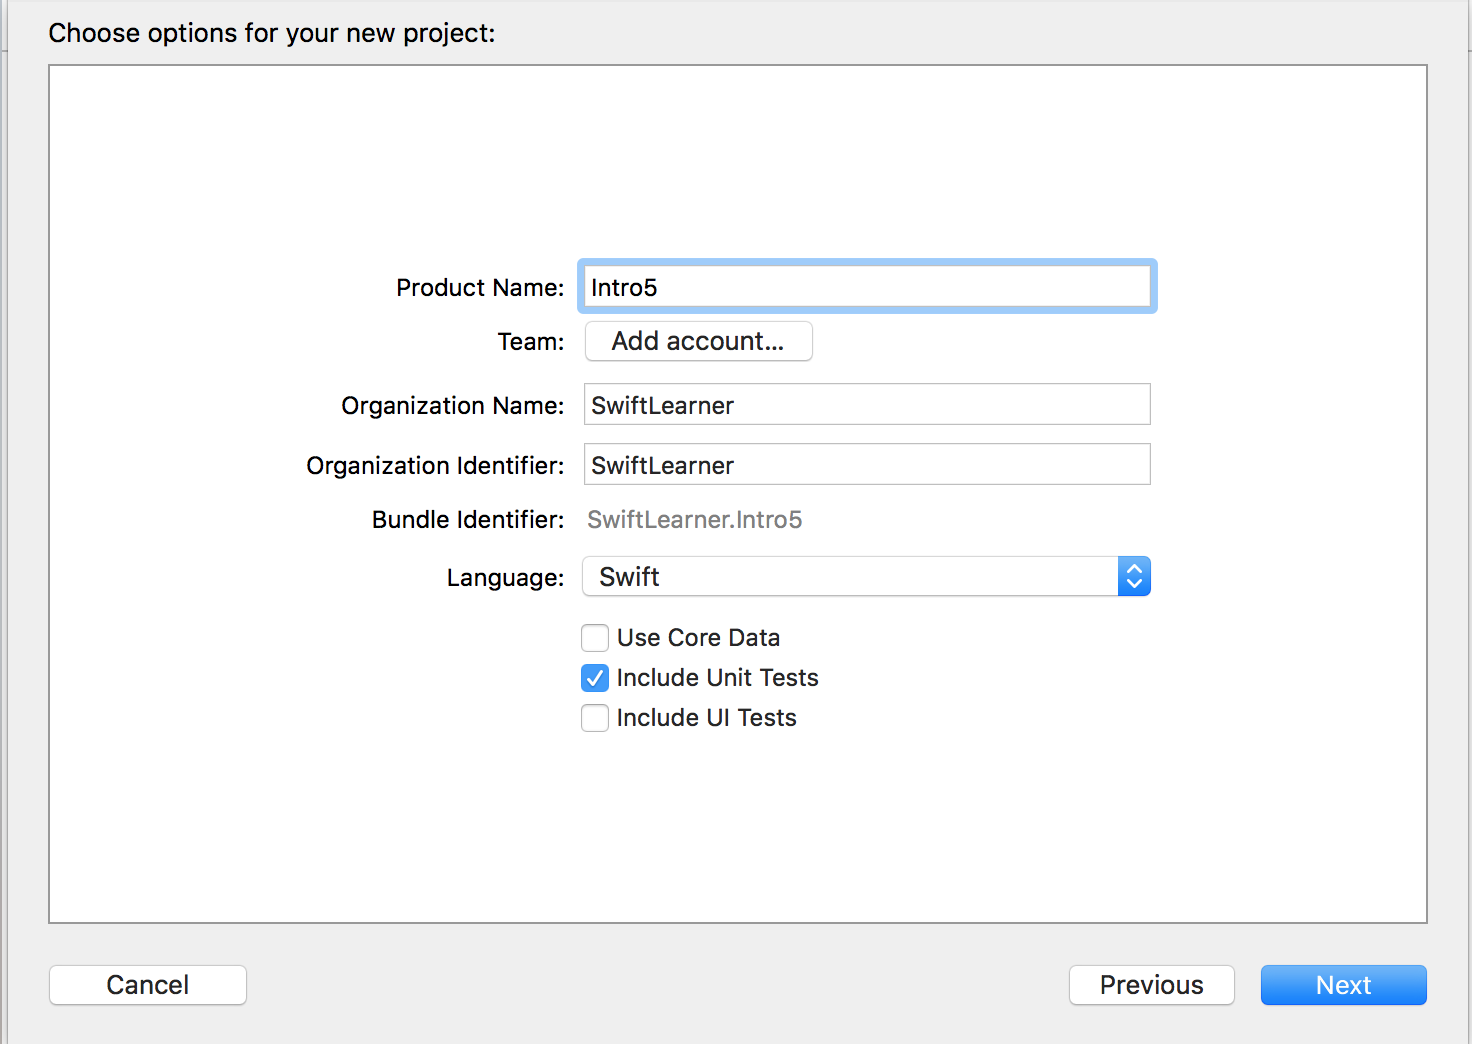
Let's create a new projects named as Intro5 details as shown below.
Once we have created the project, place a label on the storyboard.

We can check the size and the position at the size inspector as follows:

Label Attributes
Next, we explore the attributes inspector.

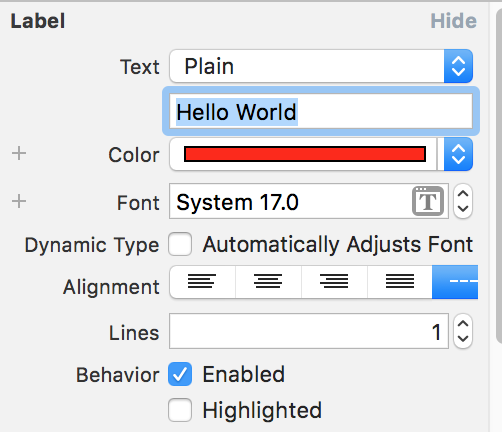
Listed below are some of the attribute that maybe useful to us.
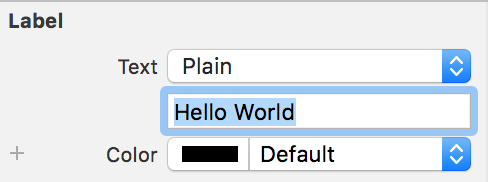
- The most important is the second entry. This is where we put our text label.
- Color - We can change the color of the font. Click on the black box to make changes,
- Font - We can also change the font of the label.
- Alignment - We can set the text of the label to the left justified or centered.
- Lines - This is where we decide how many lines this label can take.
- Line Break - If the text is more than the label can fit. It will truncate. Truncate tail will show 3 dot at the end of text.
- Autoshrink - The default is fixed font size. However, you can set it to scalable so that if the text cannot fit into the label. It will scale down the font. We also have additional check box for us if we want to tighten the letter spacing
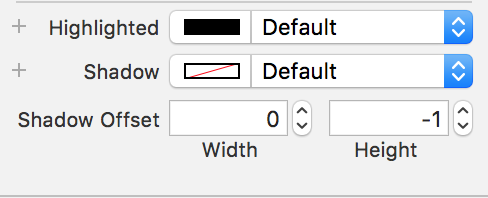
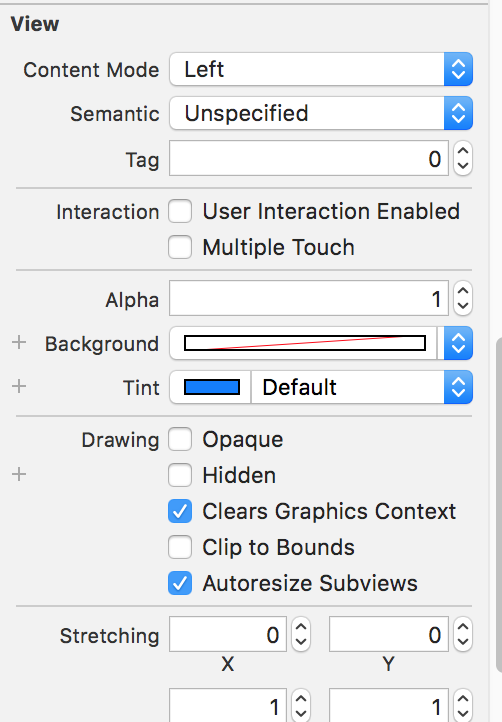
If we scroll down, we have additional option which we seldom use. Most of the settings are related to the visual attribute of the label, The only attribute we can try is the background color.
Change Label Attributes
Now let's change the text of label to "Hello World"
Next we change the font color to Red as shown below

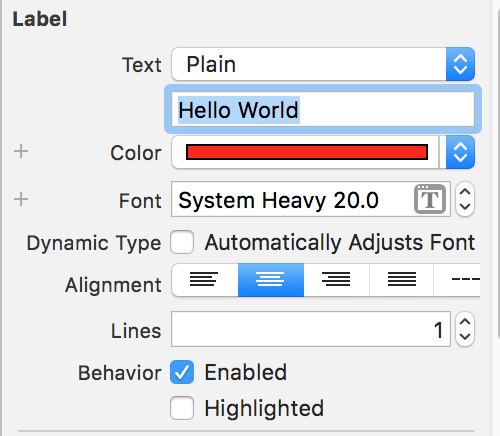
The attribute inspector will look like this
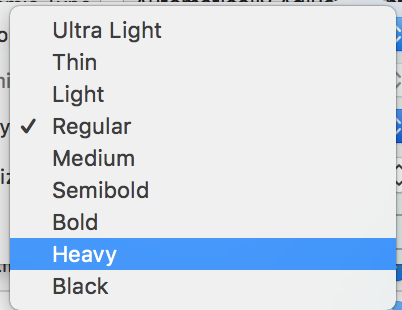
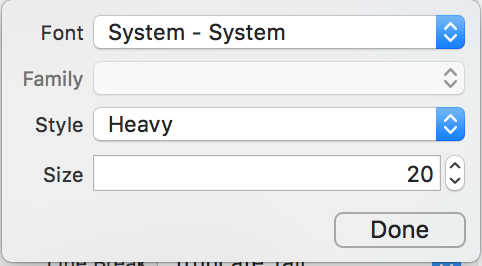
We can change the font type of the label. In our case, we just change the font style to Heavy
We also change the font size to 20
We can also change the alignment to center.
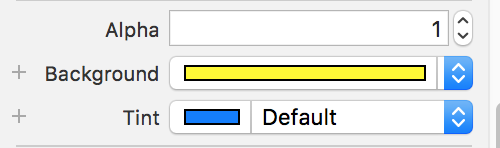
Finally, we change the background color to yellow as shown below:
The resulting label is as follows:

Multiline Label
Now. we shift the first label to the top as shown below

Next, drag another label to the center of the storyboard. Drag out the label just fit the width with some offset

Next we set the lines to 3

Next we copy a bunch of text to the attribute
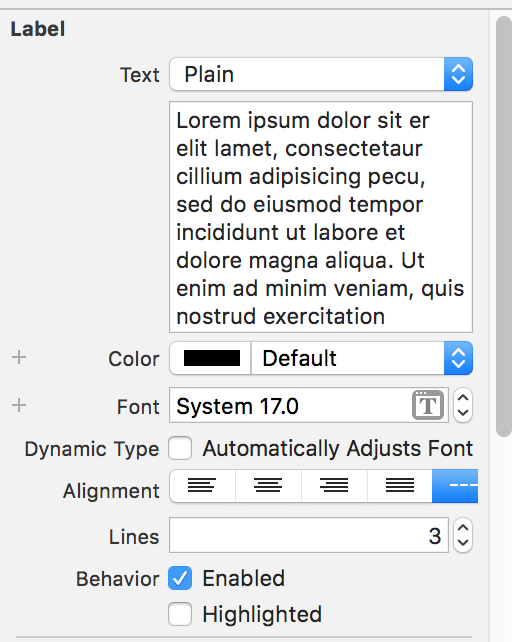
The bunch of text is here:
Lorem ipsum dolor sit er elit lamet, consectetaur cillium adipisicing pecu, sed do eiusmod tempor incididunt ut labore et dolore magna aliqua. Ut enim ad minim veniam, quis nostrud exercitation
|
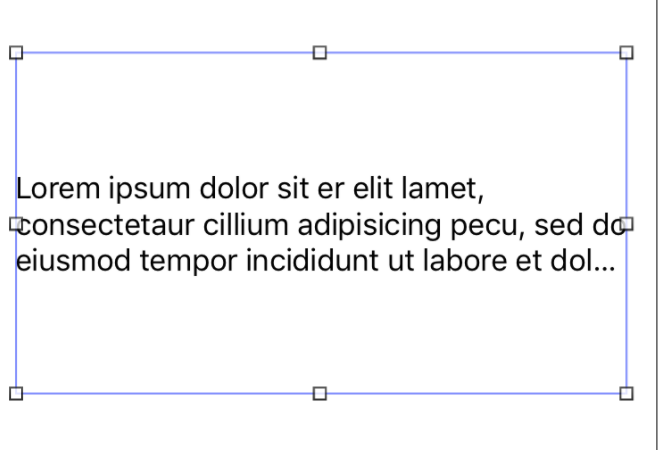
Now let's check the label.
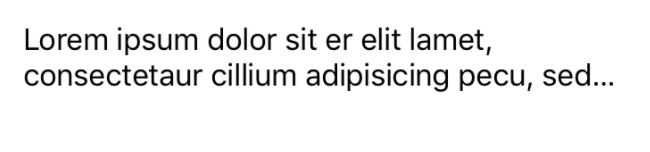
It seems that we label only contain 2 lines of text. We need to drag out the vertical of the label. After dragging out, we have 3 lines of text.
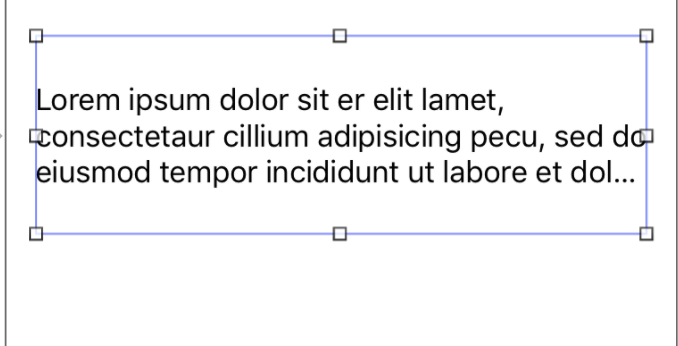
No matter how far we drag out, it will still contain 3 lines because this is what we have set.
Now, lets adjust back the label and justify it. Please note that we may need to reposition the label to the center.
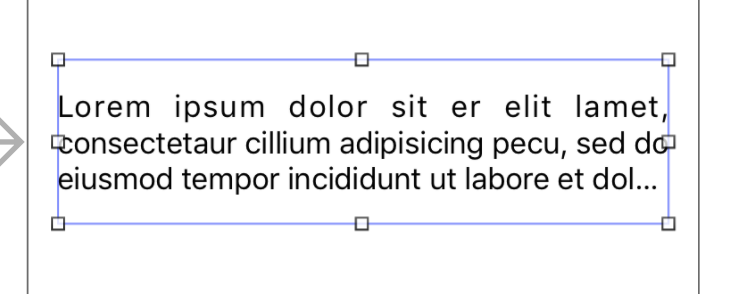
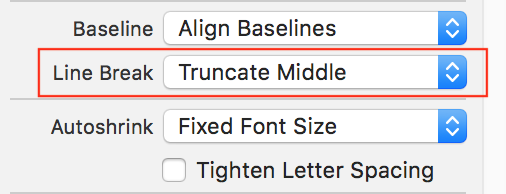
If you notice, if the text are more than the number of lines we have stipulate, the label will end with 3 dots. This is known as truncate tail. We can change the behavior to truncate middle
The resulting text is shown below:
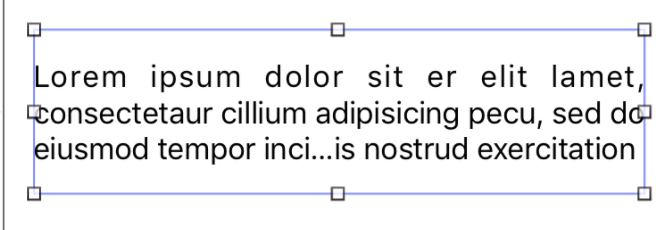
Please note that Line Break only work on the last line for multiline label.
What happen if we want to show all text, we can ask the system to shrink the text to fit all. This can be done using autoshrink.
Let change autoshink as shown below:

In this autoshrink setting, we ask the system to shrink the text until size 10. If there are still more text, then it will truncate middle again.
Alternatively, we can use scaling and decide the lowest scaling.
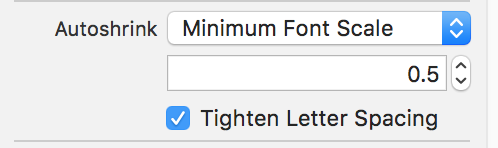
The effect should be similar. Below is the effect of autoshrink

That's all for now in label attributes. There are many advance techniques which is not commonly used. We will explore these additional attributes and advance techniques as and when required.
***
No comments:
Post a Comment