In this session, we will create another project called Intro4. In this project we will place a label at the top left corner of the safe area. This means that for label x=0 and y=20.

The size inspector will show as follows:

Passive vs Active Visual Object
Before we continue with the object linking, we would like to differentiate the differences between different visual object.
Labels, image are passive visual. They only carry text or images and their function is to display text or image in the storyboard.
Button are active object. Button allows user to interact with them. By clicking on a button, it can trigger an action by the app.
Linking Label
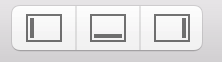
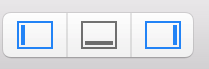
To link a visual object, we will usually hide the left and right pane temporary. To do that make sure the left and right pane button are not highlighted. See below.
We also hide the document outline.
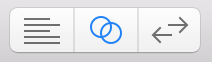
Next, we select "Show Assistant Editor" as below
Once it is set up, we should see storyboard on the left pane and view controller on the right pane.

Next we click on the label and control+drag the label to the right just below the line "class ViewController: UIViewController {".
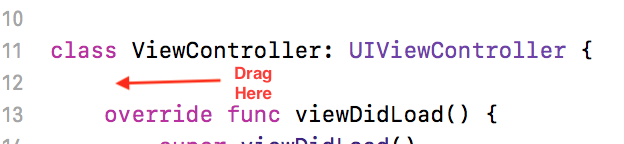
It should be line 12. If there is any difficulty due to space, we can always increase the number of space.
Check screenshot below:

Check screenshot below:

Once we release the mouse button, a dialogue box will appear as shown below
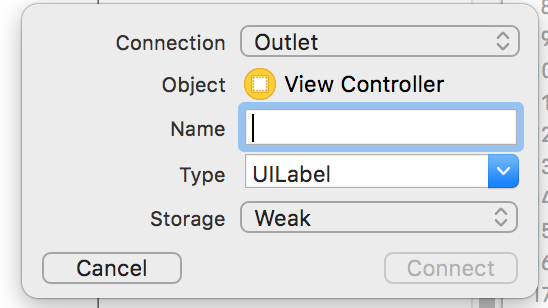
We need to give the label a name. Let's name it as "label1".
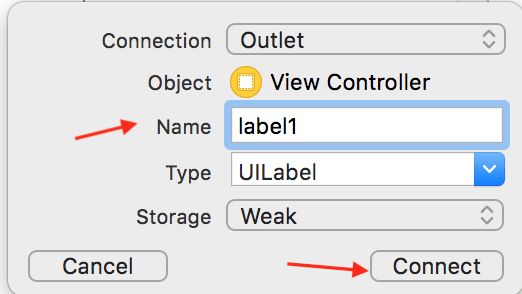
Click "Connect". A line of text will show on the view controller.
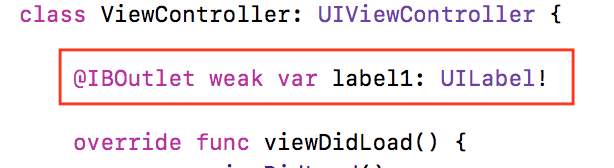
The whole statement above is to create a variable label1 with data type UILabel.
- @IBOutlet is the keyword we used to tell the system that this variable we are going to create is related to a visual object.
- We will skip the keyword weak. It has to do with the memory management for object.
- var is to create a variable with name label1.
- The datatype is UILabel
We need to revert back to standard editing mode. We can do that by clicking on the standard editing mode icon.
We also need to show the left and right pane.
Linking Button
Next, we would like to link button. First let's drag a button to the canvas. Similar to label, we can search for button at the filter bar as shown below:
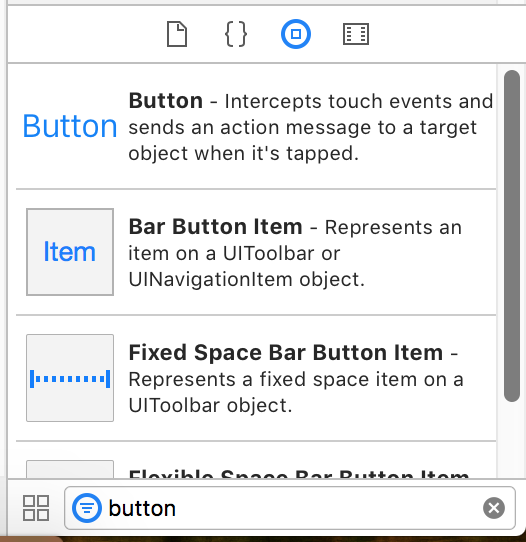
Drag the first icon labeled as Button to the canvas and place it at the center. Use the dotted line as the guide.
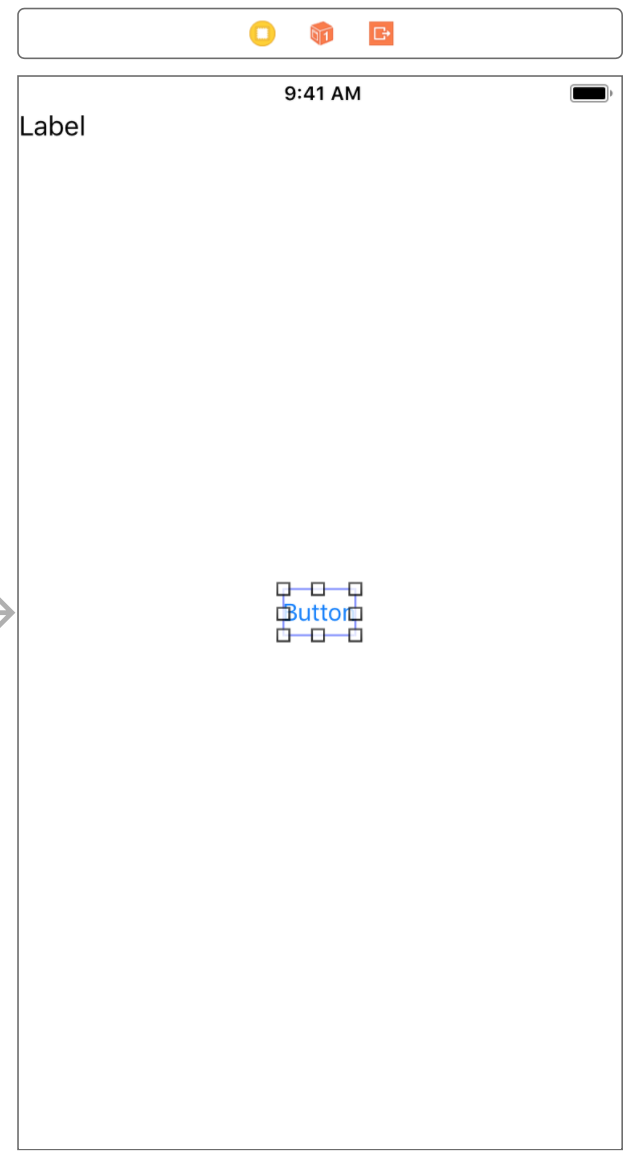
We can change the button at the attribute inspector or we can double click the button to re-label the button. For now, we just leave it as default.
Next, we would like to link the button to view controller. To do that we need to switch to assistant editing mode and we need to hide the left and right pane.
Note: Please note that pane hiding is optional but it provide us space to drag the object to the view controller.
Next, control+drag the button to the view controller just before the closing braces.
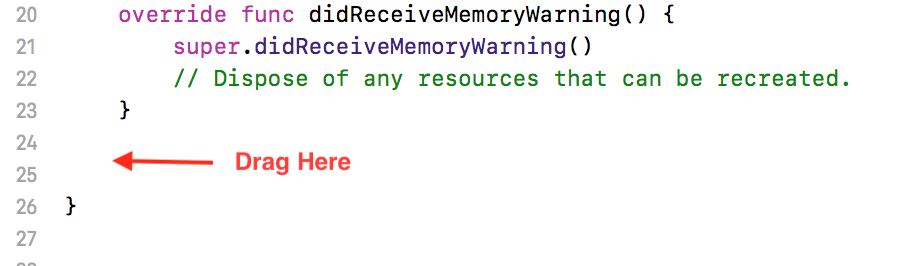
Check the screenshot below:

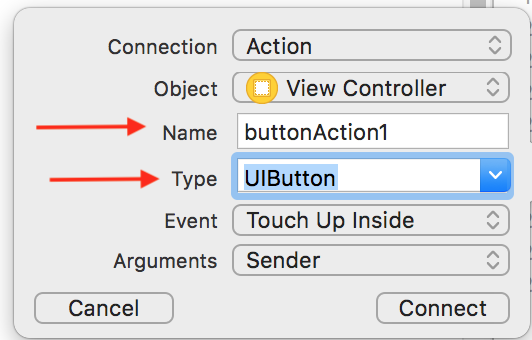
Once we release the mouse button, the following dialogue box will appear.

Please note that for button, we can connect them as variable. However, we usually don't do that unless we need to change the attributes of the button while the app is running. So the change the "Connection" to Action.

Next, we need to label the action as buttonAction1. For "Type", we switch to UIButton.
Once we click Connect, a section of template will appear.

This is a function template where we can include the code snippet in the function to dictate what will happen when user click on the button.

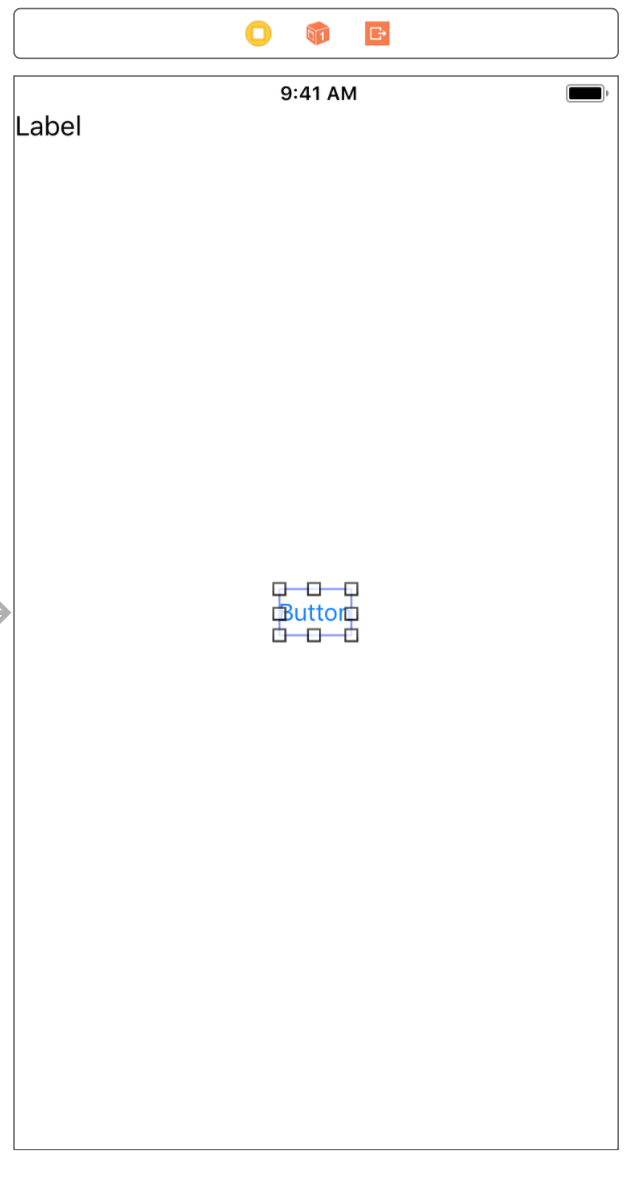
The resulting storyboard will be like the screenshot below
Resulting code in the view controller is as follow:

Please refer to the video below for linking action.
***
No comments:
Post a Comment