In this section, we will dive deeper into the workings of storyboard. For a start, select storyboard from Intro2 project as shown below:

The main screen will show as below:

As previously mentioned, the left side shows the hierarchy of the visual object on the storyboard. Officially, this section is known as Document Outline. The storyboard on the right side allow us to place all the visual object such as label, textfield or button on it. To show or hide Document Outline, we just need to toggle the icon on the lower left corner of the storyboard.
Document Outline
Document outline in storyboard show us the visual hierarchy of the visual object. At default, there are already some objects that served as template for the storyboard.

The highest hierarchy is the view controller scene. Inside view controller scene, we have view controller. This is how the storyboard is link to the view controller file and it is why we can enter our code in the view controller to work with the visual object.
Under view controller, we have view. View represent the entire canvas in the storyboard. See screenshot below:
In iOS 11, Apple introduce safe area. Safe Area consist of the whole view area except the top portion status bar. The status bar consist of time, battery and 4G status.

All visual objects placed on the canvas will be under view.
Object Library
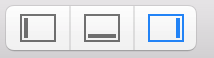
To place visual object, we need to access object library. To access object library, make sure the right pane is turn on as shown below:
At the bottom of right pane, we should have the library pane. The first library in the library pane is the File Template Library shown below:
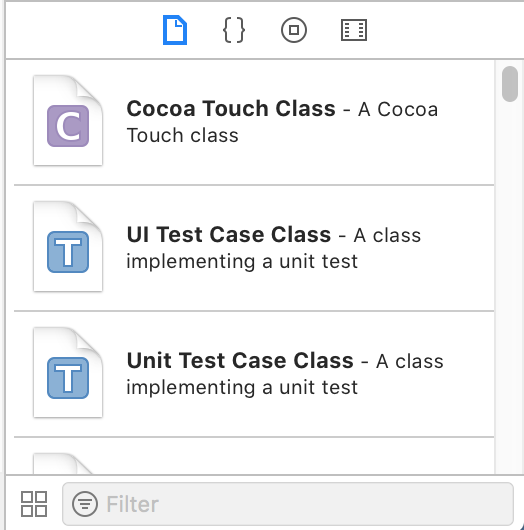
We have 4 libraries under this section, they are in order from left to right:
- File Template Library
- Code Snippet Library
- Object Library
- Media Library
To select object library, select the third button from the left as shown below:

We can choose various visual object or we can search for the object we want by using the filter bar at the bottom.
Placing Visual Object
To place a visual object, let's search from object library. Enter "Label" in the filter bar.

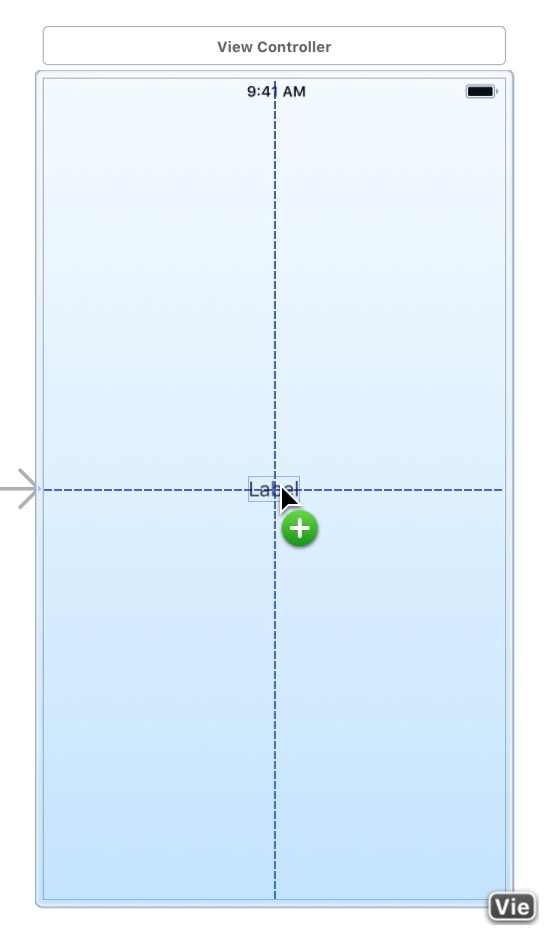
To place visual object, drag the label icon and place it on the center of the canvas. As you drag the icon, there will be dotted line appearing on the canvas. These dotted lines will act as the alignment guide for us.

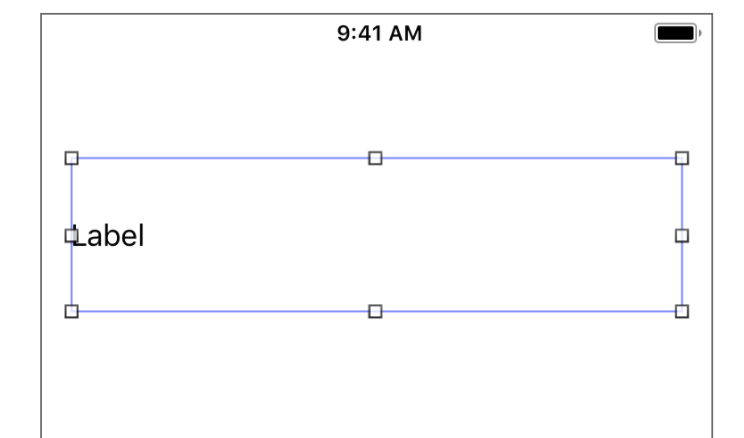
We can move or resize the label freely within the safe area. The image below shows us how to resize label horizontally.

The next image show us how to resize vertically.

The resulting label should be similar as below.
We will be going through this visual object in detail on next session.
Please check out the simple video on placing a label to the storyboard.
Please check out the simple video on placing a label to the storyboard.
***
No comments:
Post a Comment