
There different navigator, in order, are:
- Project Navigator
- Source Control Navigator
- Symbol Navigator
- Find Navigator
- Issue Navigator
- Test Navigator
- Debug Navigator
- Breakpoint Navigator
- Report Navigator
At the beginning stage the most common navigator we used are project navigator and issue navigator. Project navigator organized our program files into various section. We will be spending most of our time in project navigator.
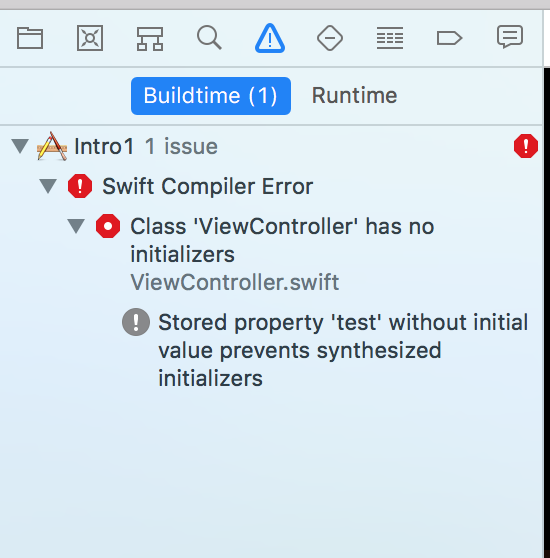
Issue navigator will display all the issue we have when our app could not be build. Issue navigator will bring us to the right location where the problems are so that we can fix them.
Project Navigator
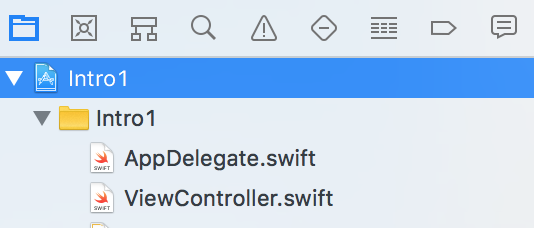
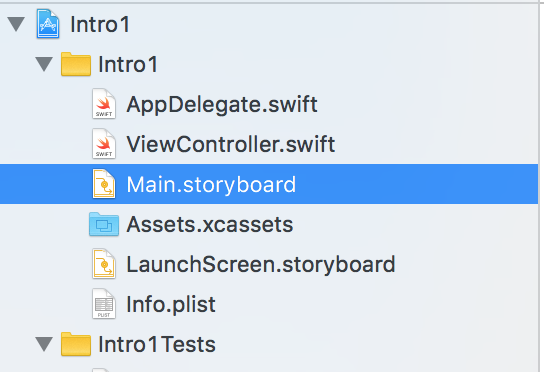
Project navigator is the most frequently used section. In the project navigator, we have various drop down folder starting from the project folder followed by 3 sub folder.

If we expand the folder further by clicking on the triangle, it will shows all the files under each folder as shown below. To build an app, we need to utilized multiple files.
Project Configuration
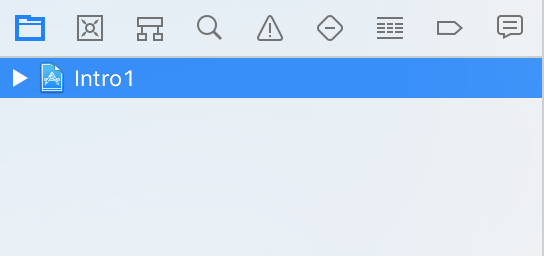
To explore project configuration, we must select the project title at the project navigator as shown below:
Once the project title is selected, the section at the middle will display the details as shown below:

This is the project configuration page. This section allows us to set build attribute or change those settings. The project configuration page is quite complex. We will be covering only the first 3 section under the general tab.
Section 1: Identity - This section shows the basic information such as the name of the project and its version.
Section 2: Signing - This section is important when we need to deploy the app. Otherwise, we can ignore the error message.
Section 3: Deployment info - this section dictate how our app will be deployed. Please refer to the details below:
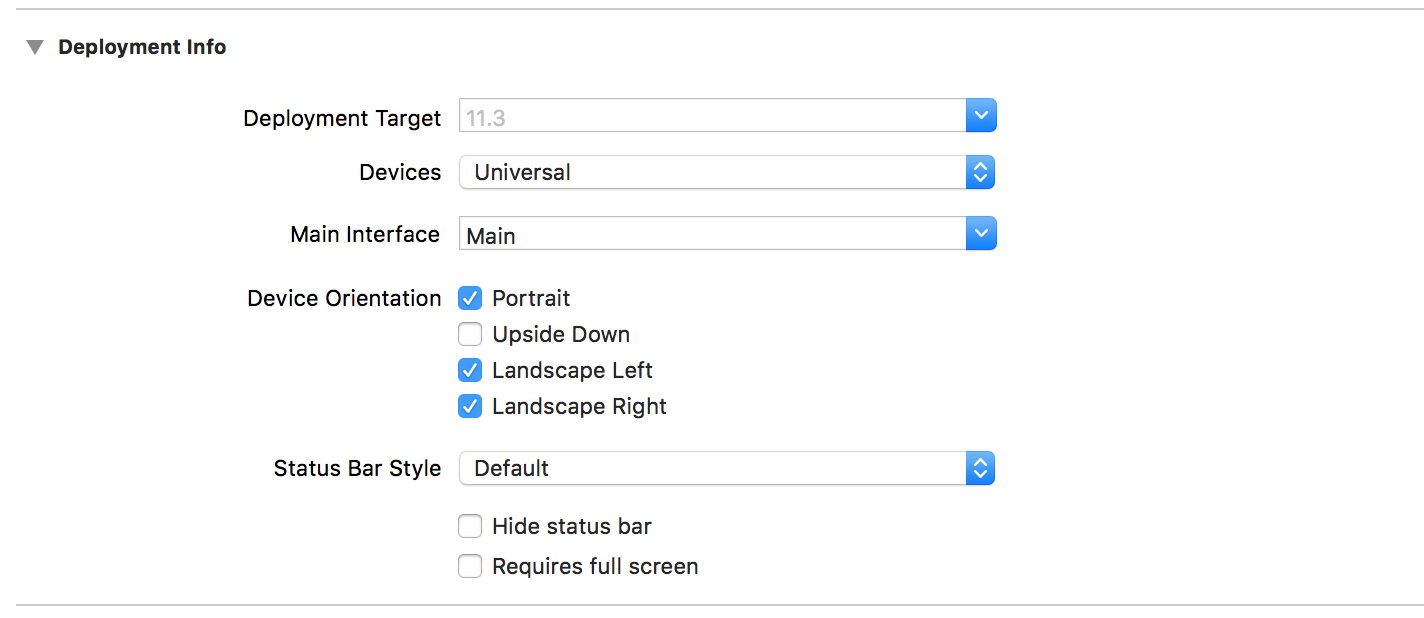
- Deployment target refers to the current version of iOS
- Devices allowed us to build an app for an iPhone or iPad or both. If the devices is set as Universal, this allows an app to be run on both iPhone or iPad.
- We usually do not adjust Main interface. We will leave it as that.
- Device Orientation allow us to set orientation for our app. We can remove the landscape checkbox so that our app will only run in Portrait mode.
- We will leave the rest of setting untouch.
- The common settings that we will change are Devices and Device Orientation.
Main Project Folder
Most of the program files are located at the main project folder as shown below
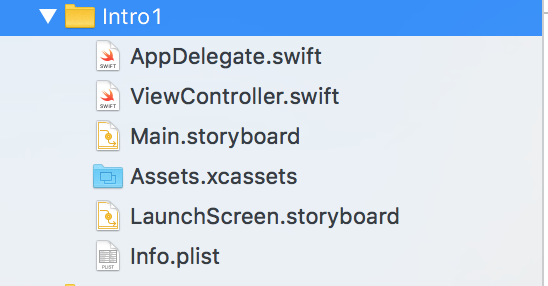
We will be touching AppDelegate.swift, ViewController.swift, Main.storyboard, Assets.xcassets and info.plist
AppDelegate
Select the file AppDelegate.swift as shown below.

The middle section will display the details of this file.
AppDelegate.swift is the main file of the app. It is also the first file that the app picks up before an app is launched. We can modified this file by dictating the behavior of the app when the app become active or enter into the background. In the file, we have some templates available, where we can define the app behavior. Please read the comment in green. For simple app, we do not need to modified this file. Only at advance stage, where we want to customize the app behavior, then we will modify the template.
View Controller
View controller file can be access by select the file in the project navigator as shown below.

This file is practically empty. All the logic and control of the app will be handled by this file. We will be working on this file to control the behavior of the app

Main Storyboard
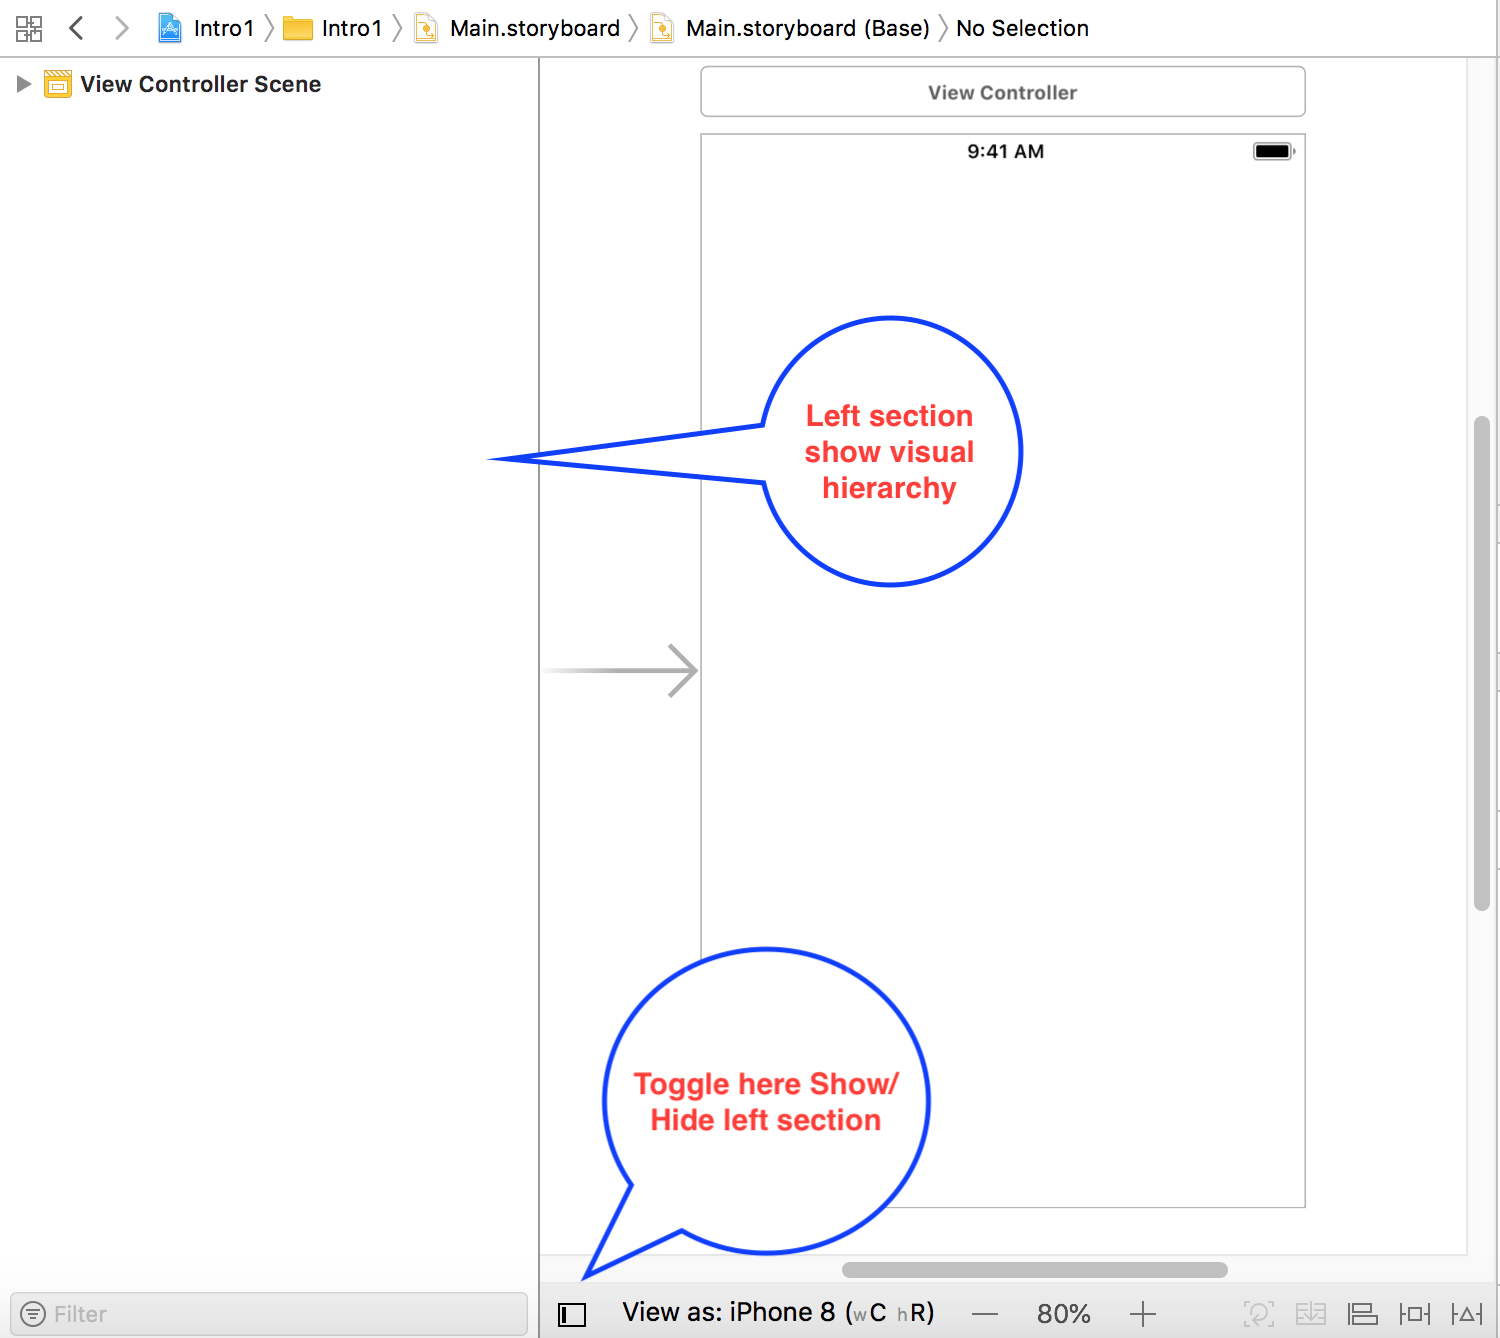
Main storyboard file can be access by select the file in the project navigator as shown below.
The details of storyboard is shown as below:

On the right hand side, this is the visual representation of the app. On the canvas, we can place various visual objects and arrange them according to our preference.
The left side shows the hierarchy of the visual object. It is also known as Document outline. We can collapse the visual hierarchy by toggle the icon as shown below:
Assets
The folder Assets.xcassets can be access by selecting the folder as shown below:
The details is as below
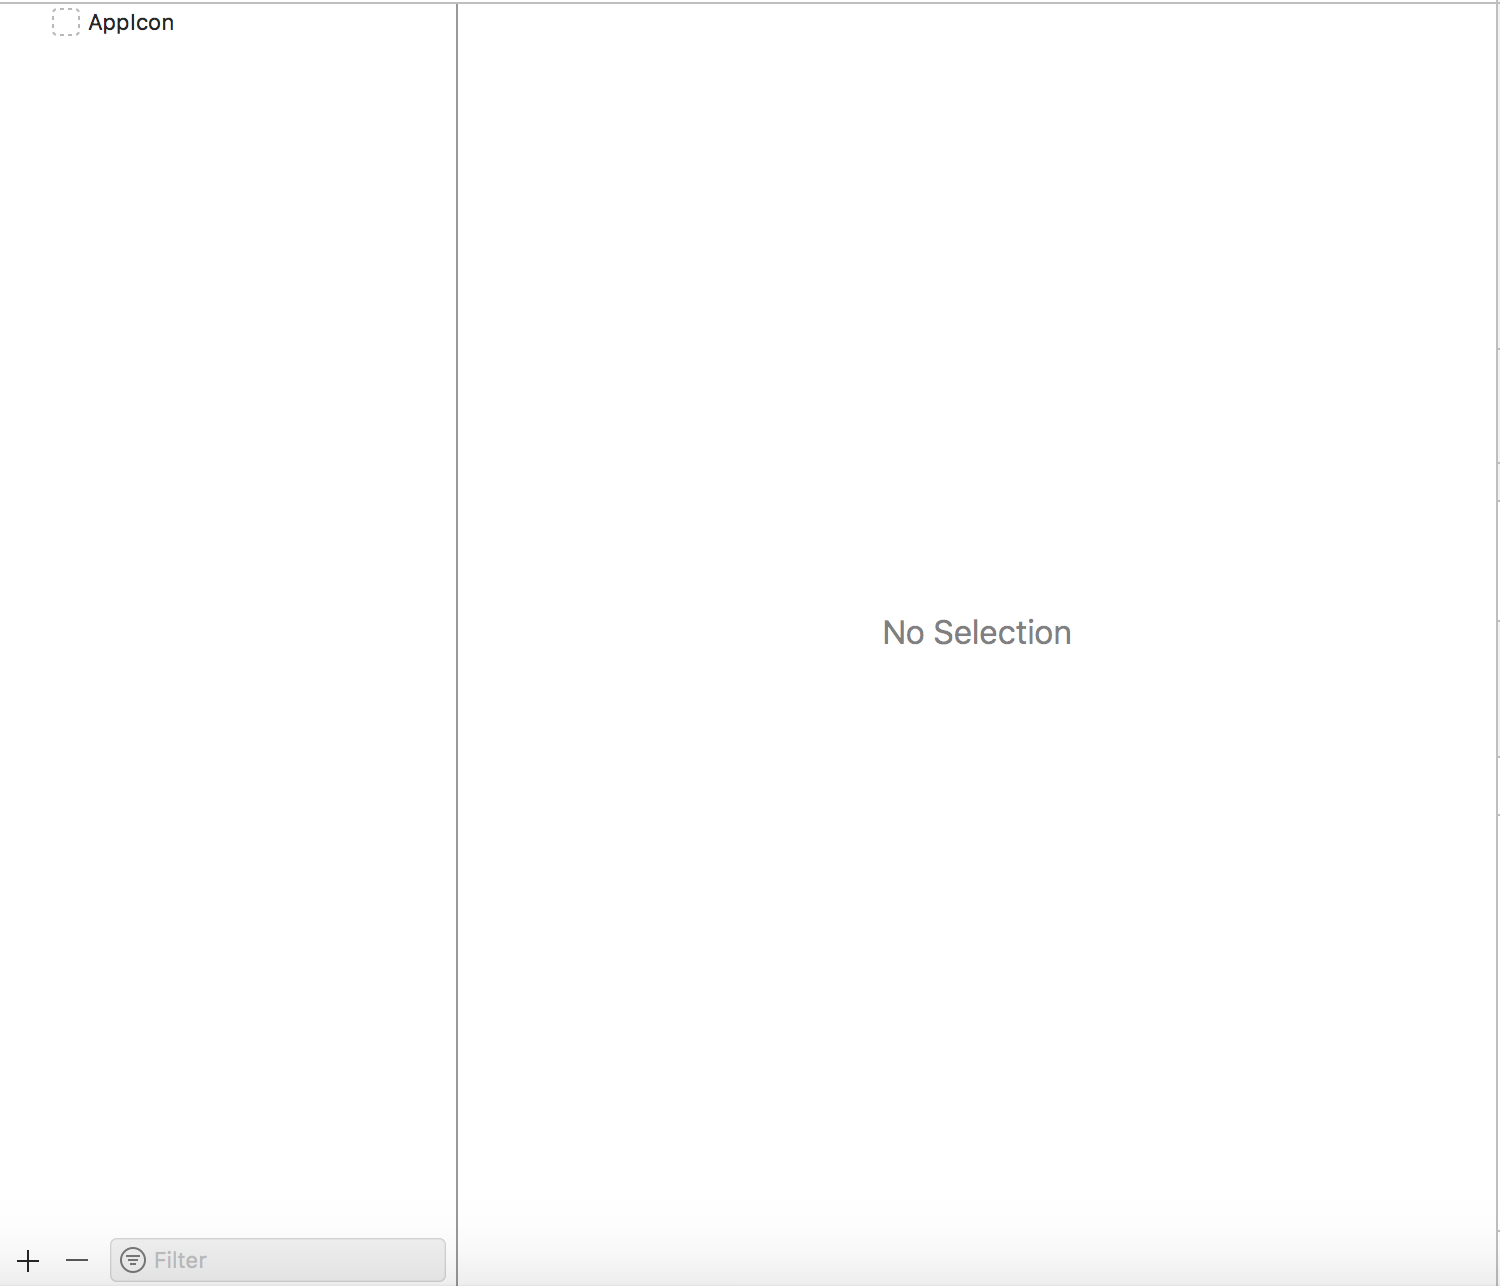
This is where we manage the icon image. In addition, all image resource to be used in this app will be managed here. We can add folder or image using the + icon on the lower left corner.
Info Plist
The file info.plist contains information about this app. For now we will not be messing with the plist here.

Issue Navigator
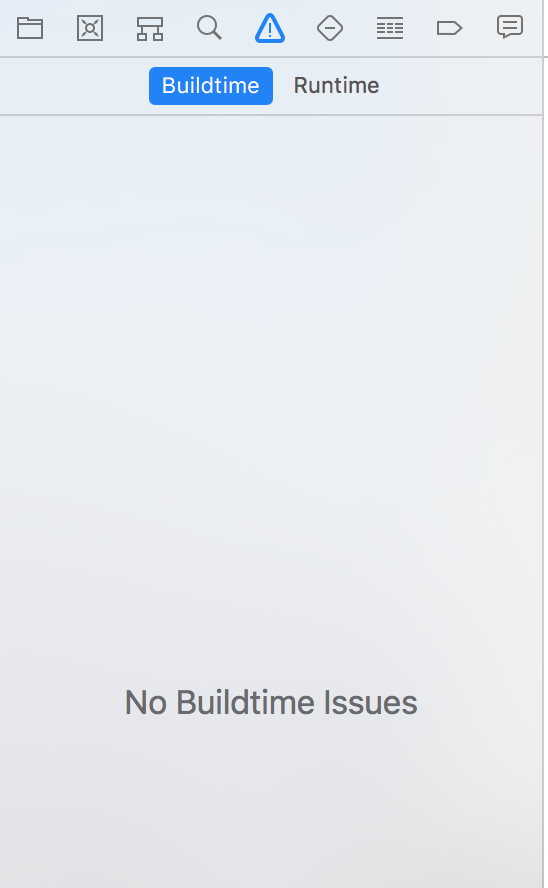
When we select issue navigator. If the app has no build issue and no runtime issue. It will be shown as below.
Examples of issue navigator with build error are shown below
***
No comments:
Post a Comment