This is the first in the series on Introduction to iOS development. We will start by familiarizing the environment.
To start development apps, we would need the following stuff:
- Mac OS X device such as Mac, iMac or MacBook
- Latest version of Xcode. Xcode can be downloaded from App Store. Please note that you may need administrator rights to install certain component.
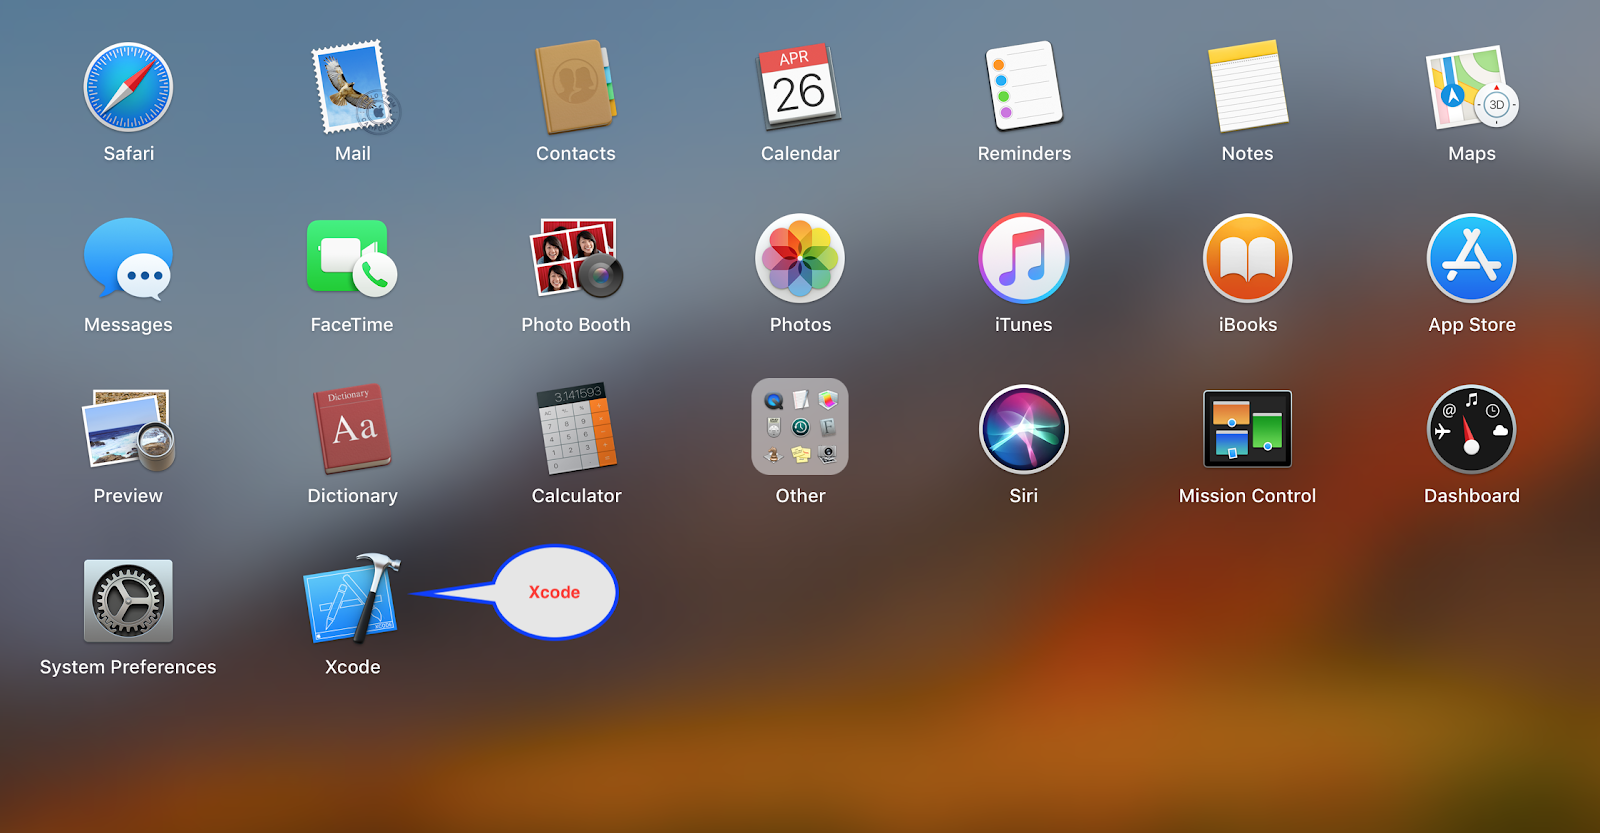
Once Xcode is installed in our Mac, we can launch the program via launchpad as shown below:
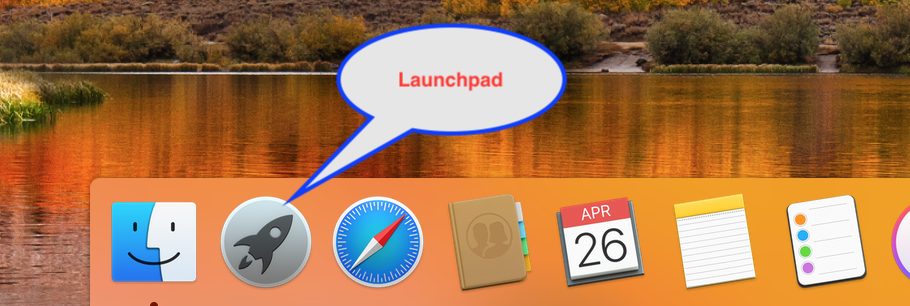
Alternatively, we can drag Xcode to the dock and launch Xcode from the docks as shown below.

We can refer to the video below:
Creating Our First Project
To create our first project, we launch Xcode first. Once the program is launched, the screen as below will appear:
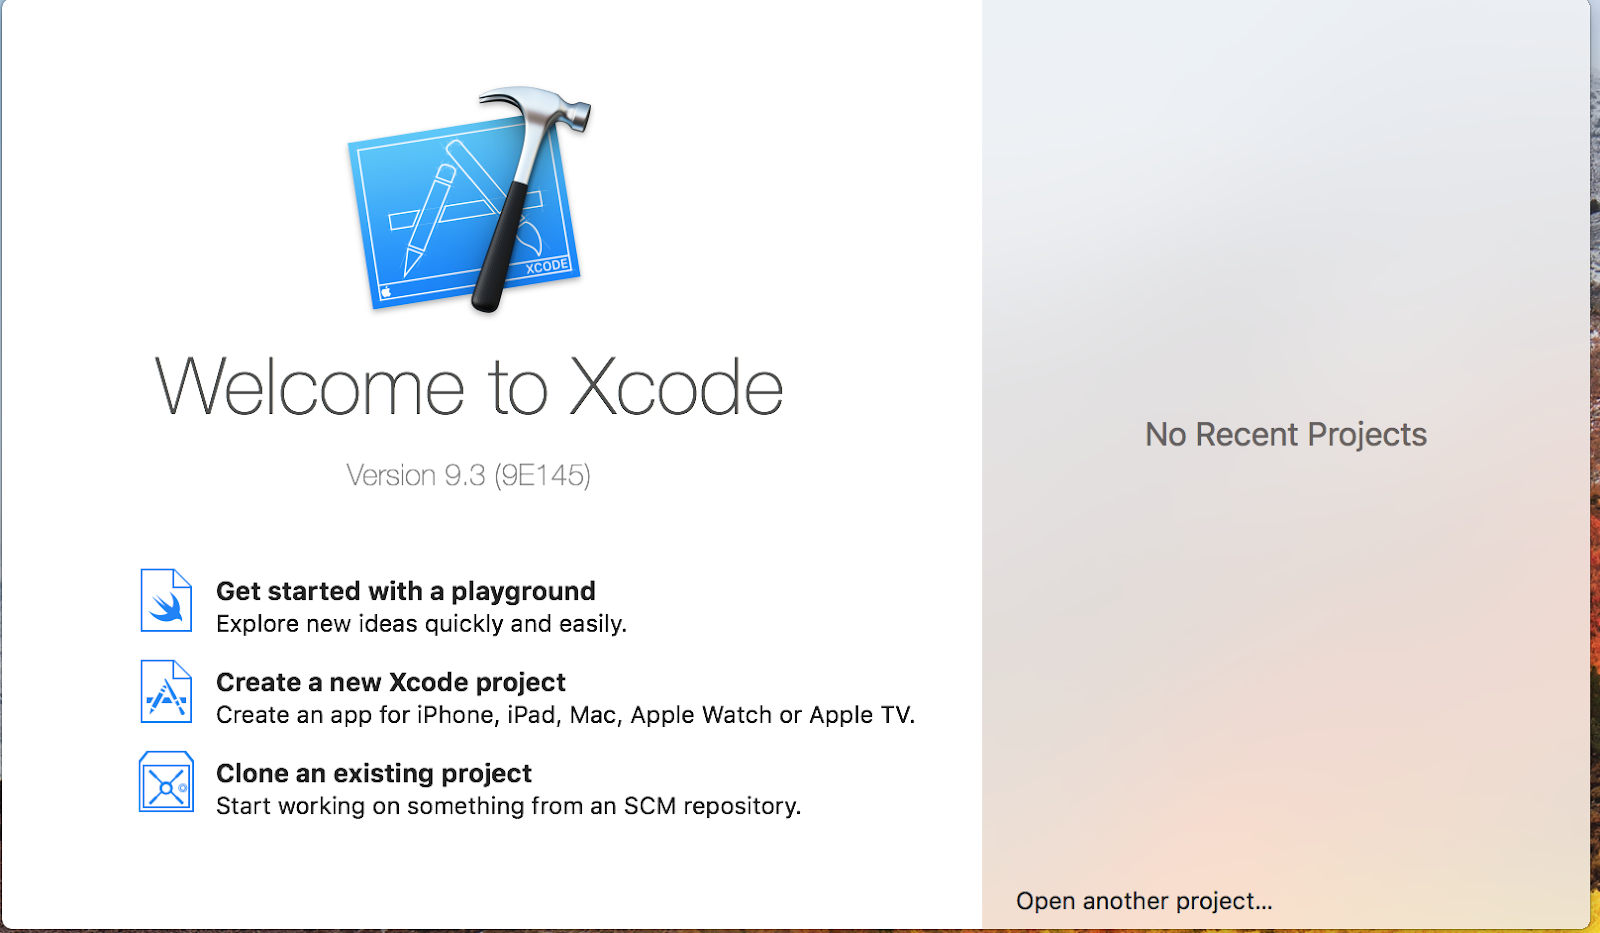
Click on "Create a new Xcode project". The following screen will appear:
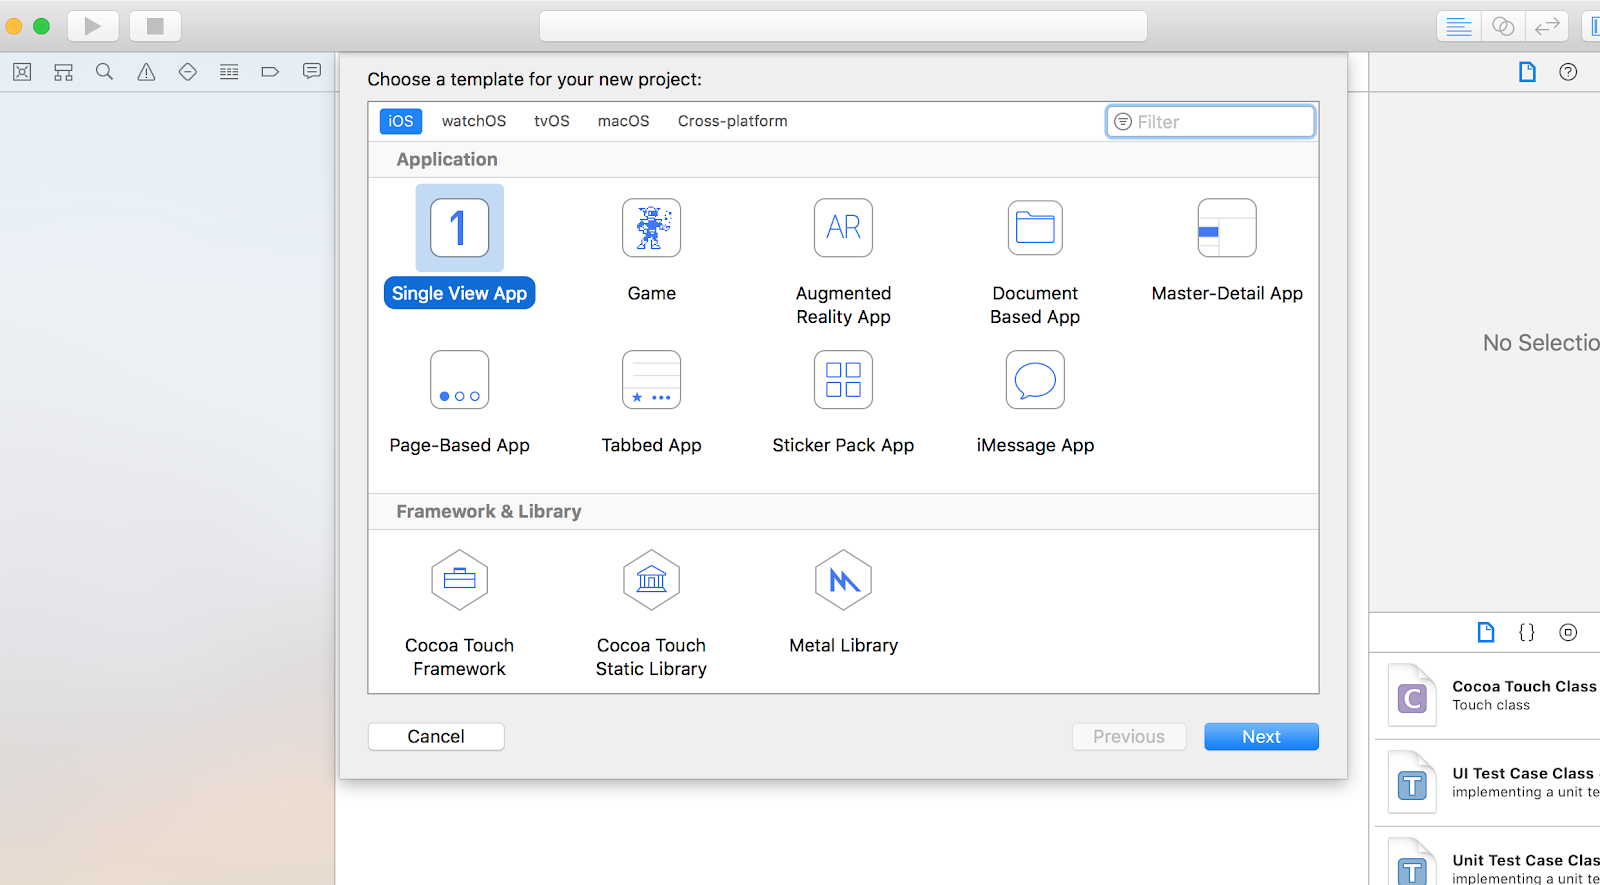
Make sure "iOS" and "Single View App" are selected.

Click "Next" on the lower right corner. The next screen will show as below:
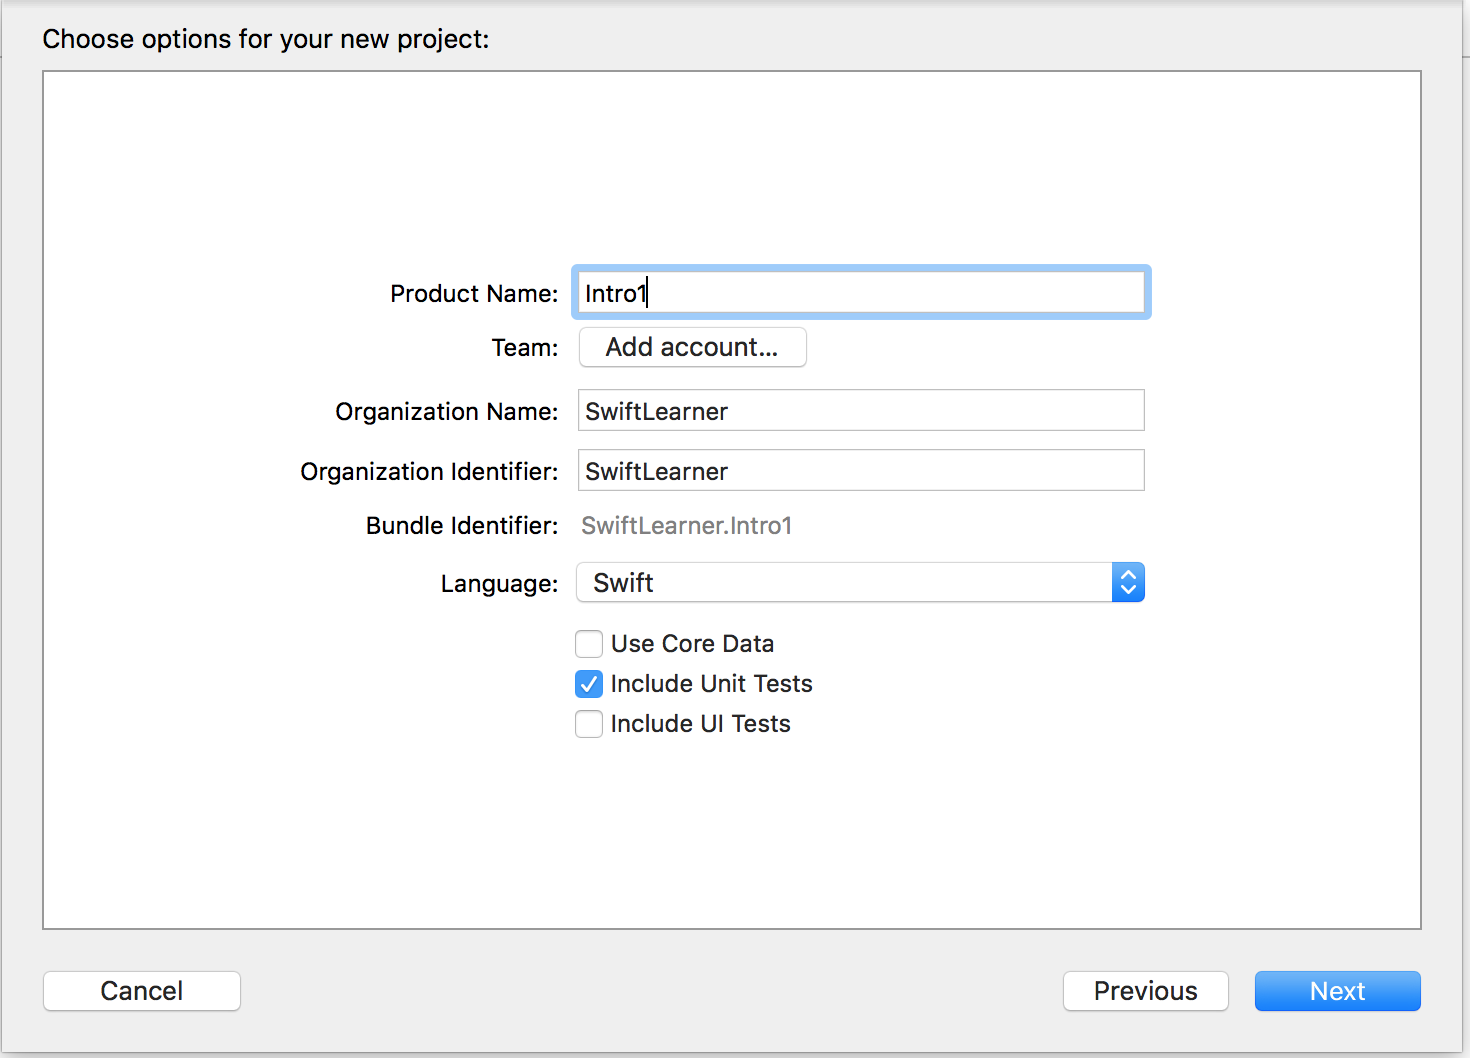
Under "Product Name:", enter Intro1. Make sure that organization identifier is not empty. If it is empty, you can enter the same name as organization name. Make sure Language is set to "Swift". The options below language is optional, we can leave it as default or at least select "Include Unit Tests". We will not be utilizing these options yet. Click "Next".
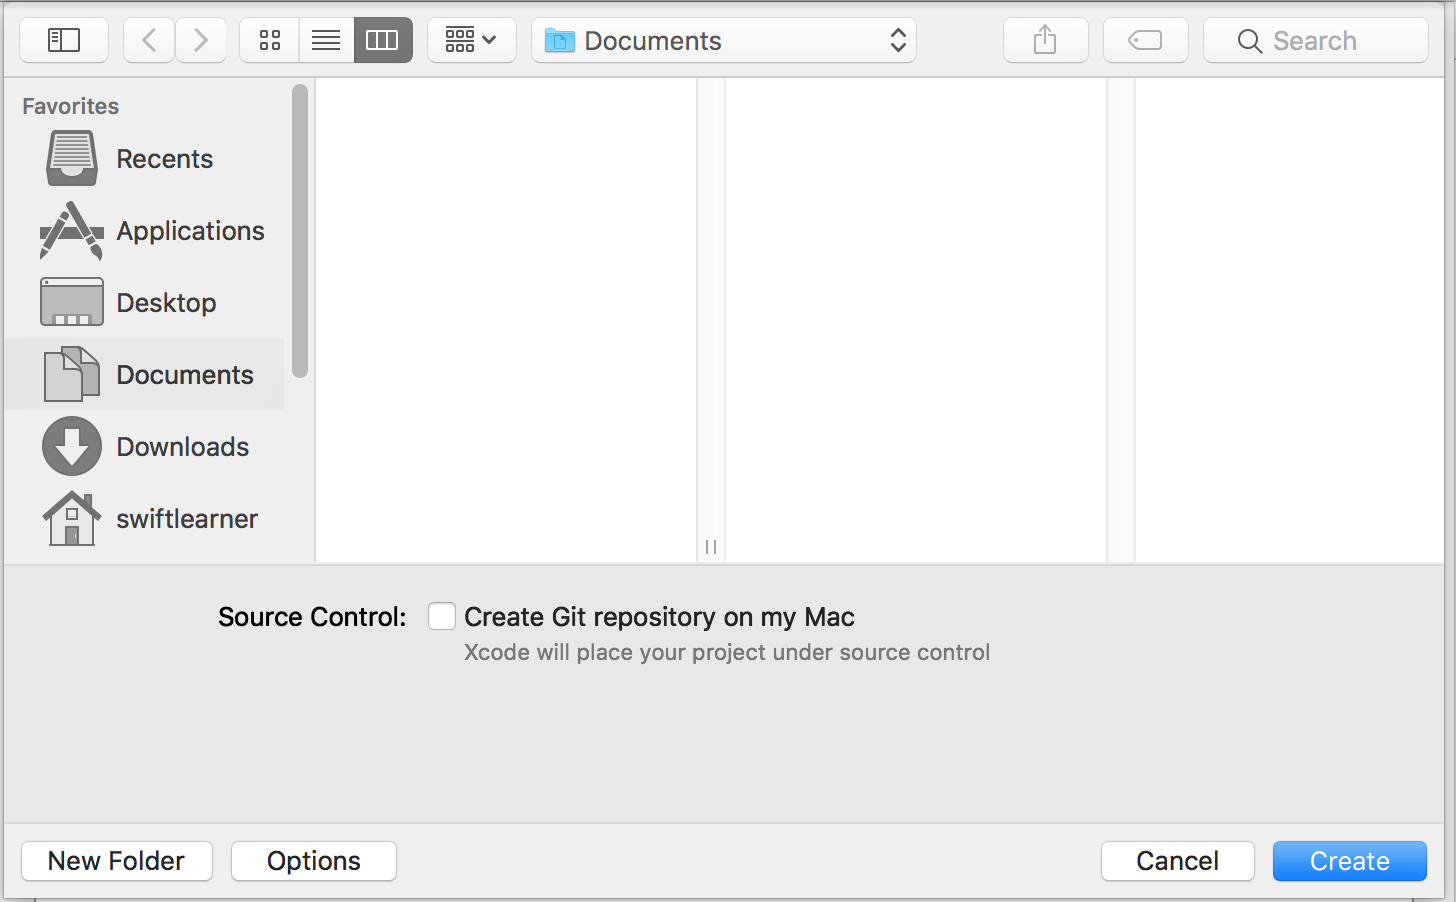
Under this screen, we can select the folder or location to which we store our project file. Once we have selected the appropriate location to store our program, we can click "Create" to create the program.

Once the program is created, the screen as above will appear. The interface seems complicated, but we will be going through each section.
We can refer to the video below:
We can refer to the video below:
Overview of Xcode
Let's start from the top portion.
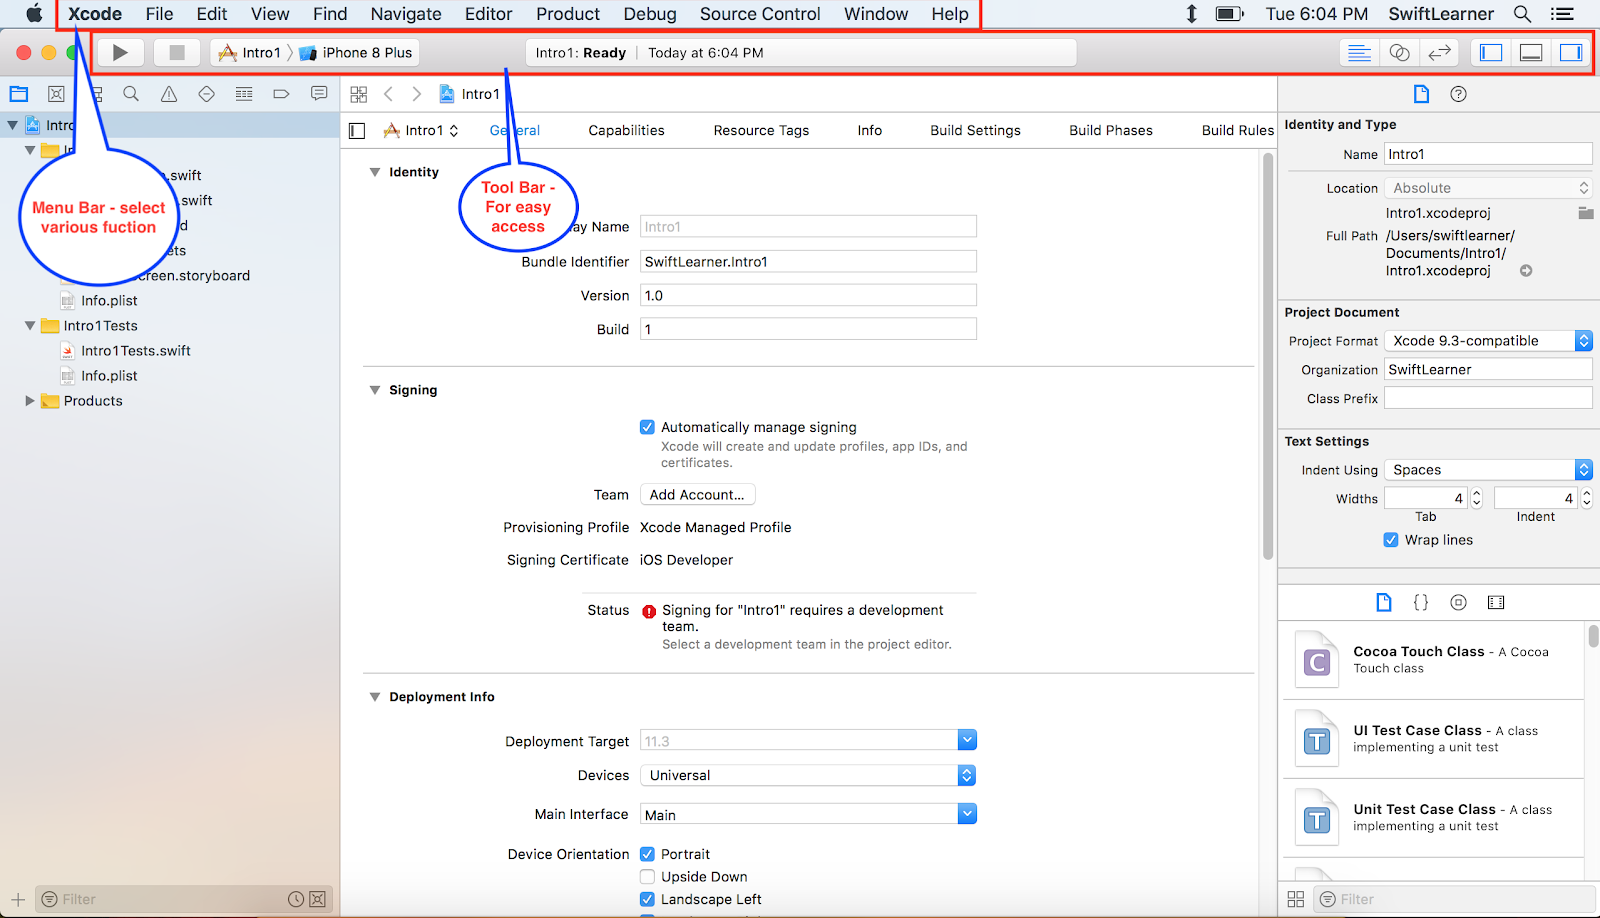
On the very top, we have the menu bar where we can select various function to work on the program. Everything to work on the project is located in various drop down section of the menu bar.
Just below the menu bar is the toolbar section, the toolbar is there for easy access. The center of toolbar shows the status and activities of the project. The toolbar can be divided into 3 section, we will go through each of them.
We would also like to introduce the rest of the section as shown below.
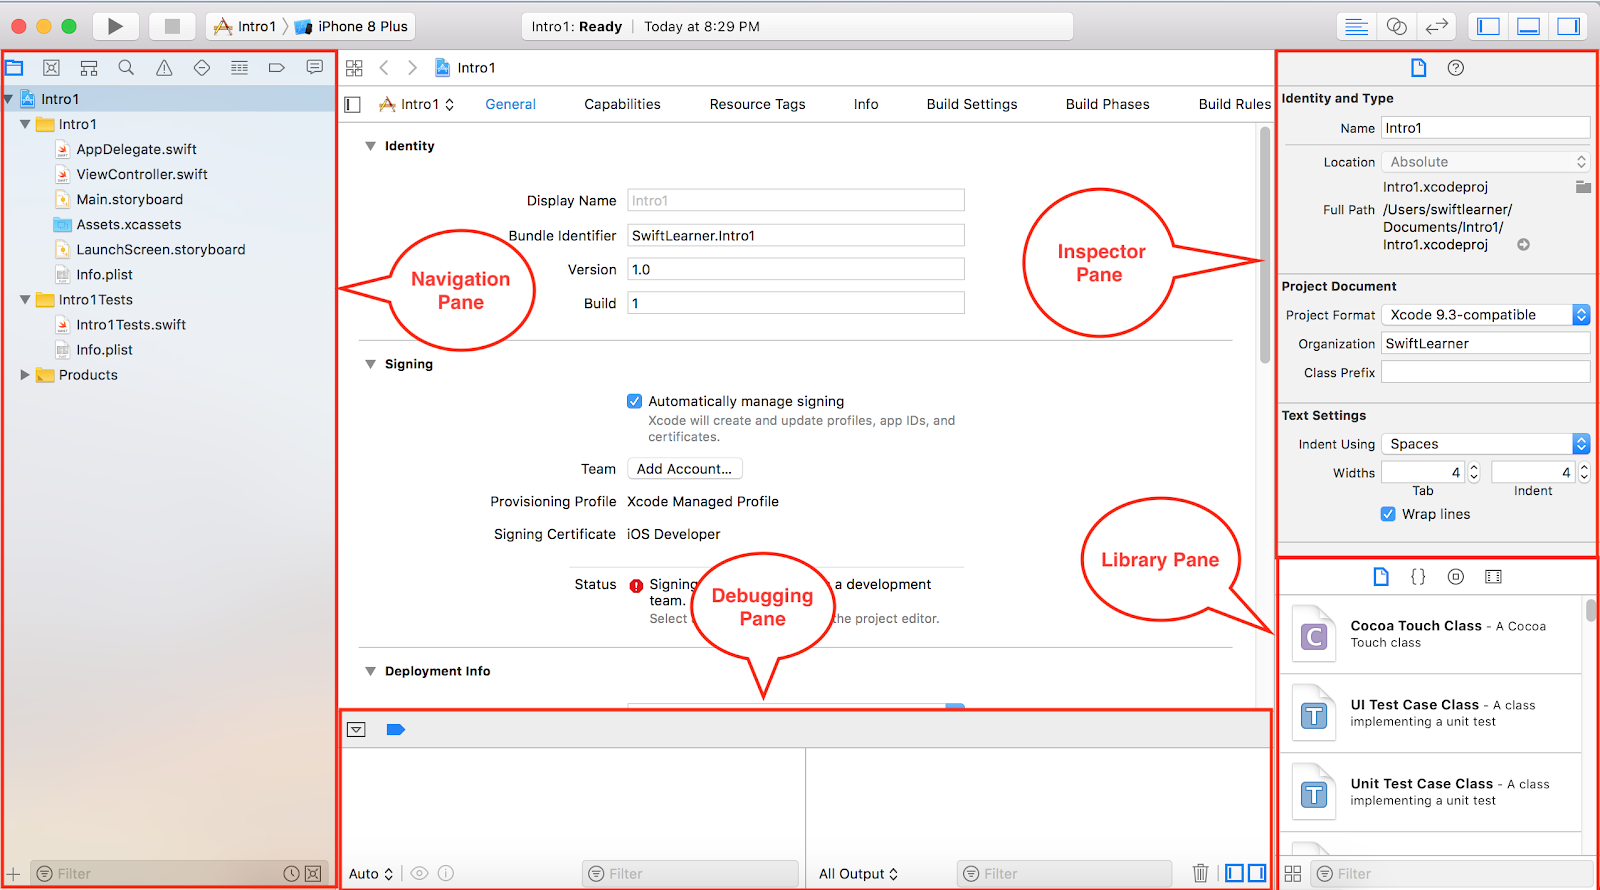
The left pane is also known as navigation pane. Navigation pane organize the project files into various section. We can navigate to different area in the project using this pane.
The bottom pane show all the details when the program runs. Any details of error will also be shown here.
The right pane consist of inspector pane and library pane. It stores all the attributes and various other settings for the project or selected item. The library pane below contain all the various file object and visual object library that we could use for our app.
We will discuss in details for each section at a later stage.
ToolBar Overview
We would like to introduce the first section on the left of the toolbar as shown below.


The middle section of the toolbar shows us the name of the project and its current status. Any warning (in yellow) or errors (in red) will be shown here on the right.

Example of various status:
Below status shows successful build
Below status tell us that we have successfully run the program on the simulated iPhone 8 Plus.
The status below tell us that we have an error while building the project
On the right side of the toolbar shows 6 icon, the first 3 icon allows us to switch between different type of editing mode.

 The next 3 icon allows us to toggle to show/hide the pane on the left, right and bottom. As mentioned earlier, left pane is navigation pane, Bottom pane is debug pane. Right pane is attribution inspector and object library pane.
We will stop here and the next post, we will work through navigation pane.
***
No comments:
Post a Comment