Friday, May 25, 2018

Introduction to iOS Development Series 1.4 - Visual Object

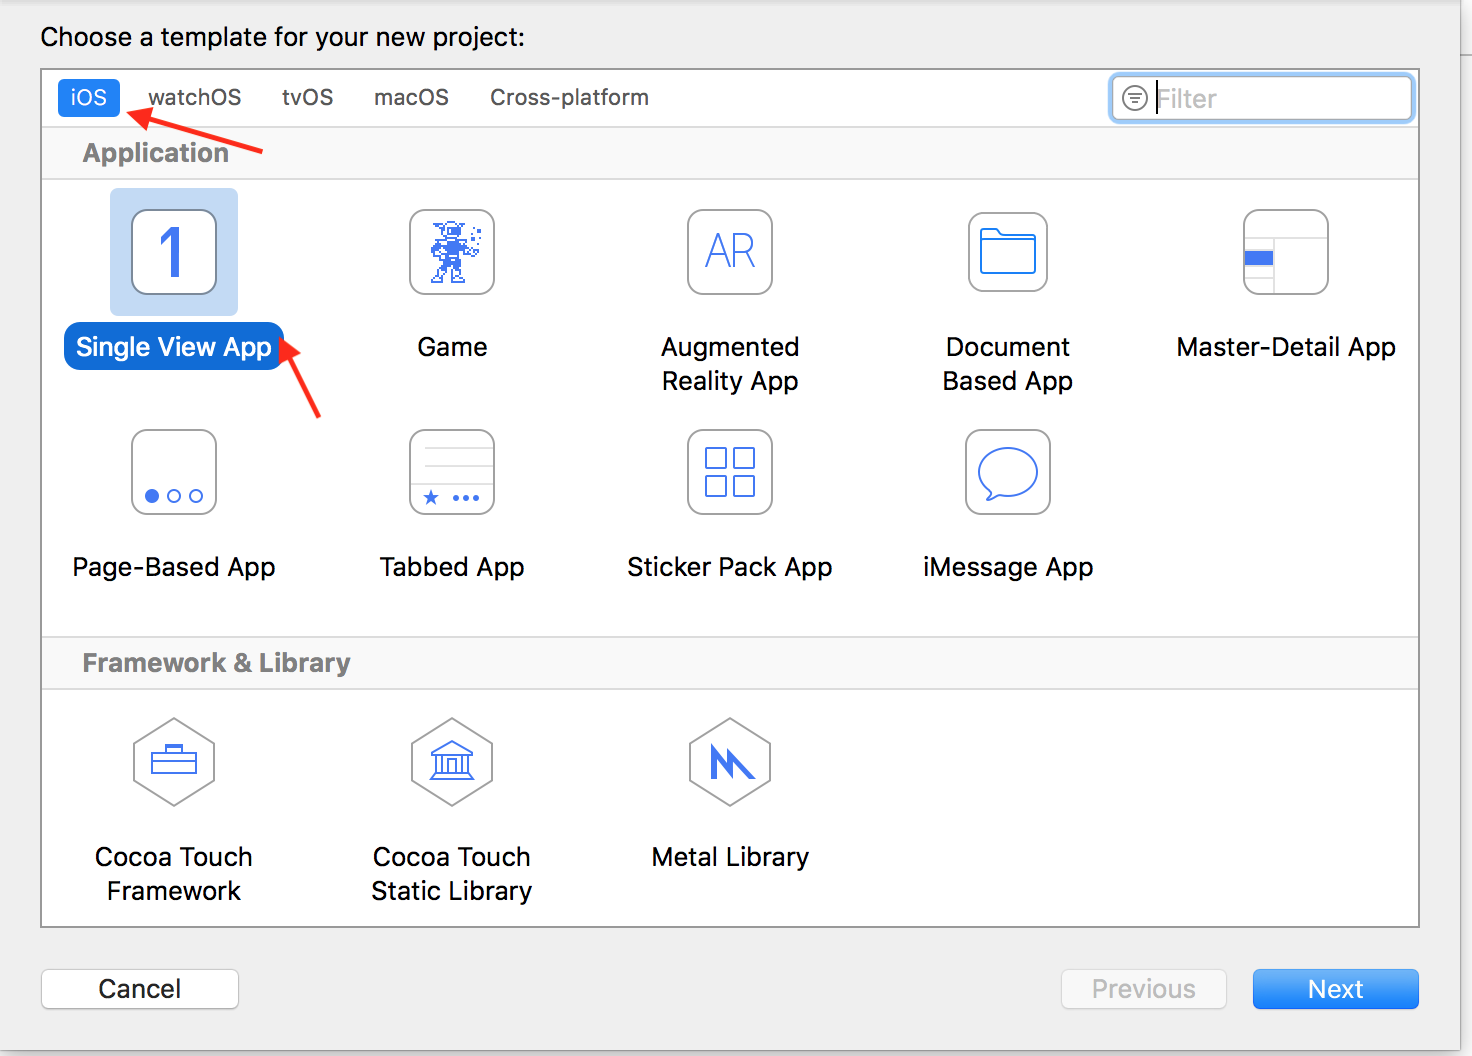
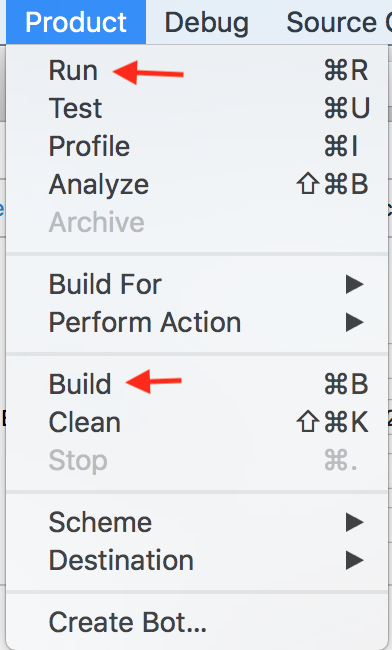
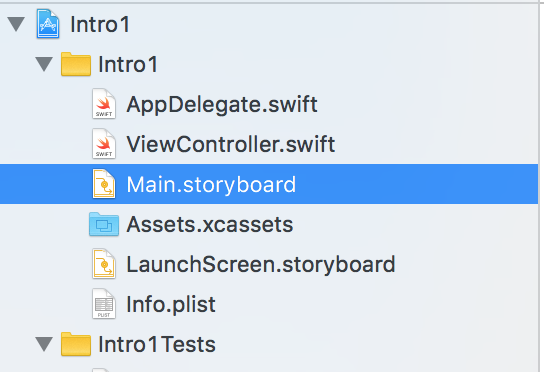
In this session, we will continue to setup visual object. To do that lets create a new project called Intro3. Please refer to previous section for creating a new project.


We will be placing a new label into the storyboard canvas.


Placing Visual Object

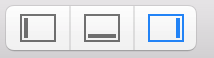
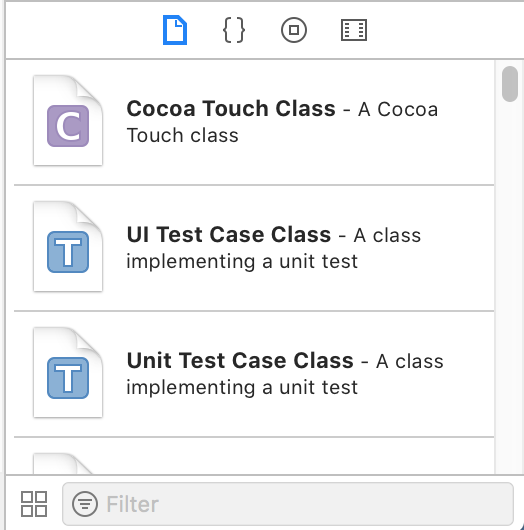
First, select object library as shown below:


Enter "Label" in the filter bar as shown below:


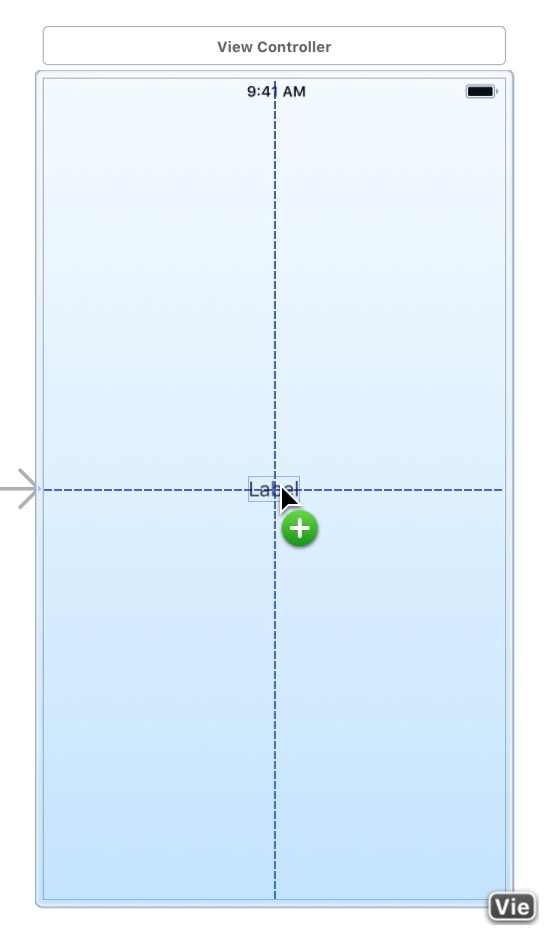
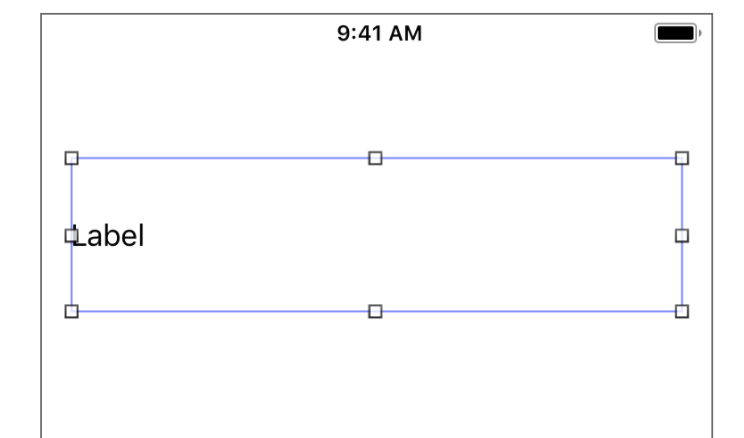
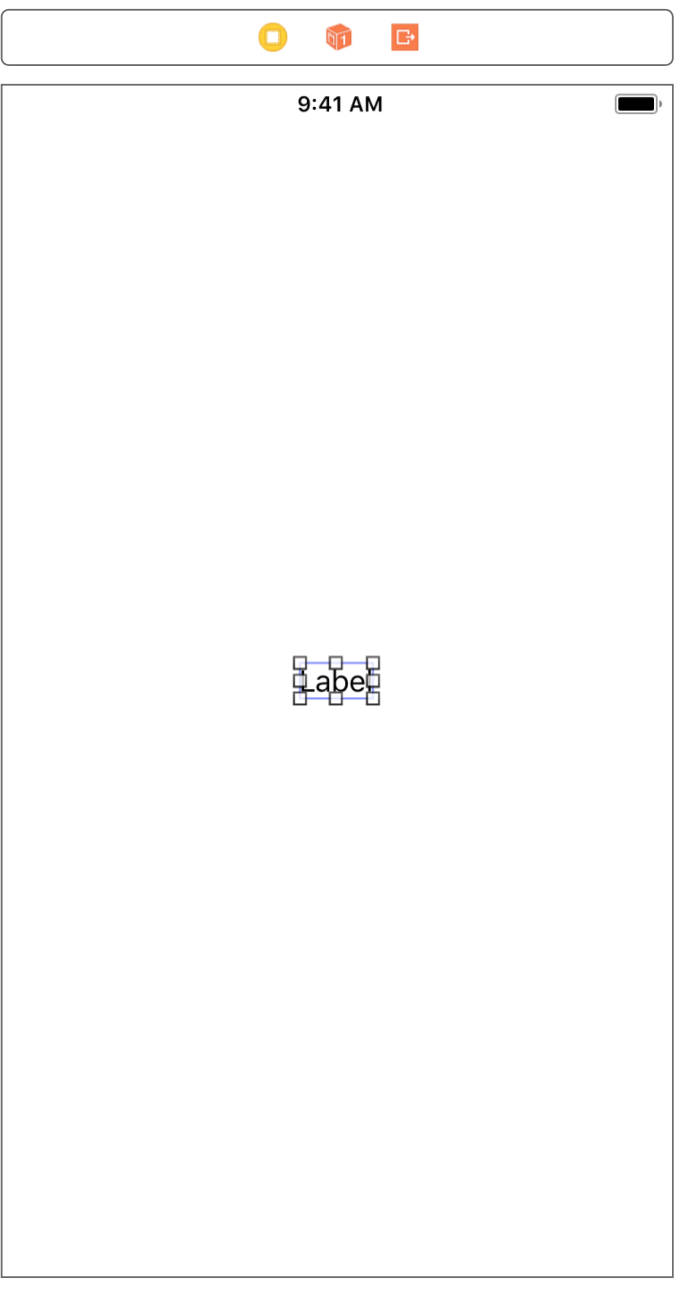
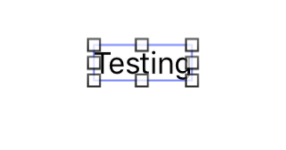
Drag label to the storyboard canvas and place it at the center of the canvas.


Inspector Pane

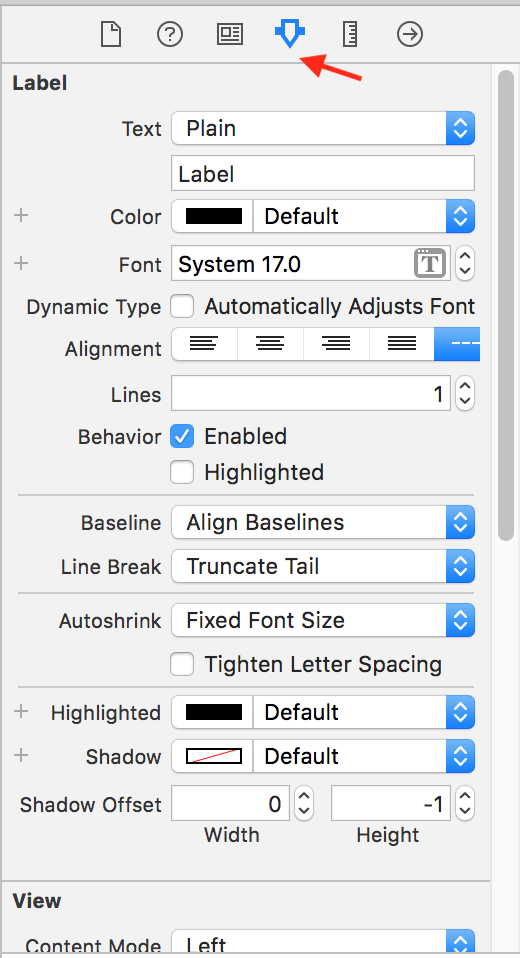
With label selected, select attribution inspector. Attribution inspector is on the right pane. If you could not get this page, make sure label is selected as in the previous image and attribution inspector is selected as shown below.


There are other inspector beside attribute inspector.


They are in the order from left to right:
  • File Inspector - shows file settings
  • Quick Help Inspector
  • Identity Inspector - shows the relation between file and object class.
  • Attributes Inspector - shows all the related attribute related to an object
  • Size Inspector - shows the size and position settings in relation to the canvas.
  • Connections Inspector  - shows the connections between each visual objects and the related variables or code in the view controller.


The most common inspector we will be using are attributes and size inspector. Occasionally, we may need to change or adjust identity or connection inspector.


Attribute Inspector

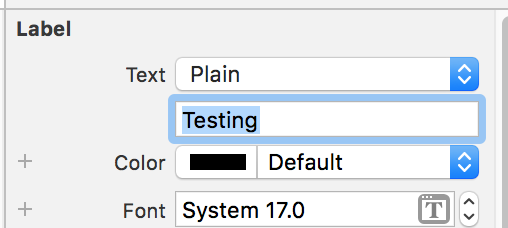
To explore further attributes inspector, we need to select the label that we have placed in the canvas. Various attributes are shown as below


Under attributes inspector, we can choose the type of color, font type and font size for the selected label. In addition, we can adjust the alignment, change the letter spacing, view mode, and background color.


The most common field to change is the second field after text type. This is where the words for the label located. Whatever we write in this field, the label will reflect the text in it.


We can manually adjust the label size. Alternatively, we can use size inspector as shown in the next section.


Size Inspector

Make sure the label is selected and select size inspector as shown below:


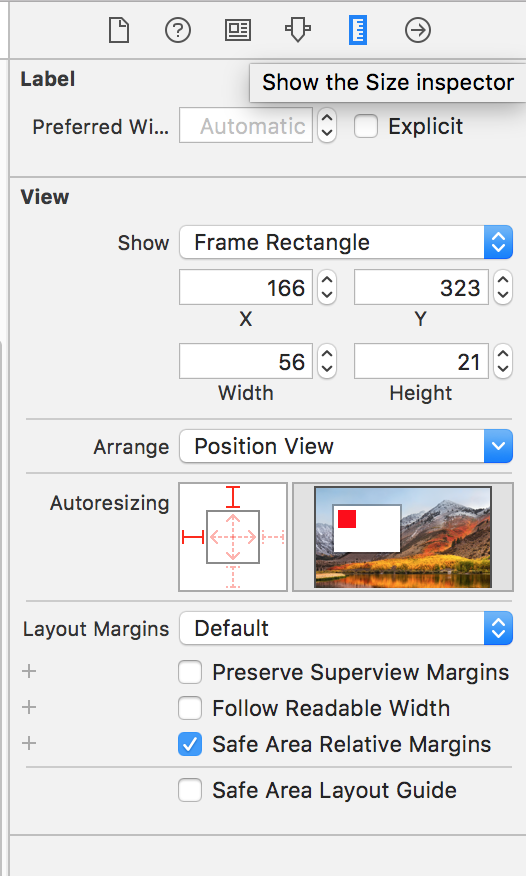
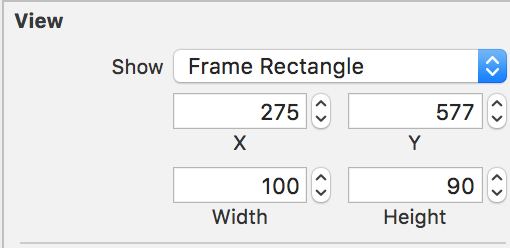
The most common section that we used is the view section.


The X and Y refers to the location of the label with reference to its top left corner. X refers to location across and Y refers to vertical location.


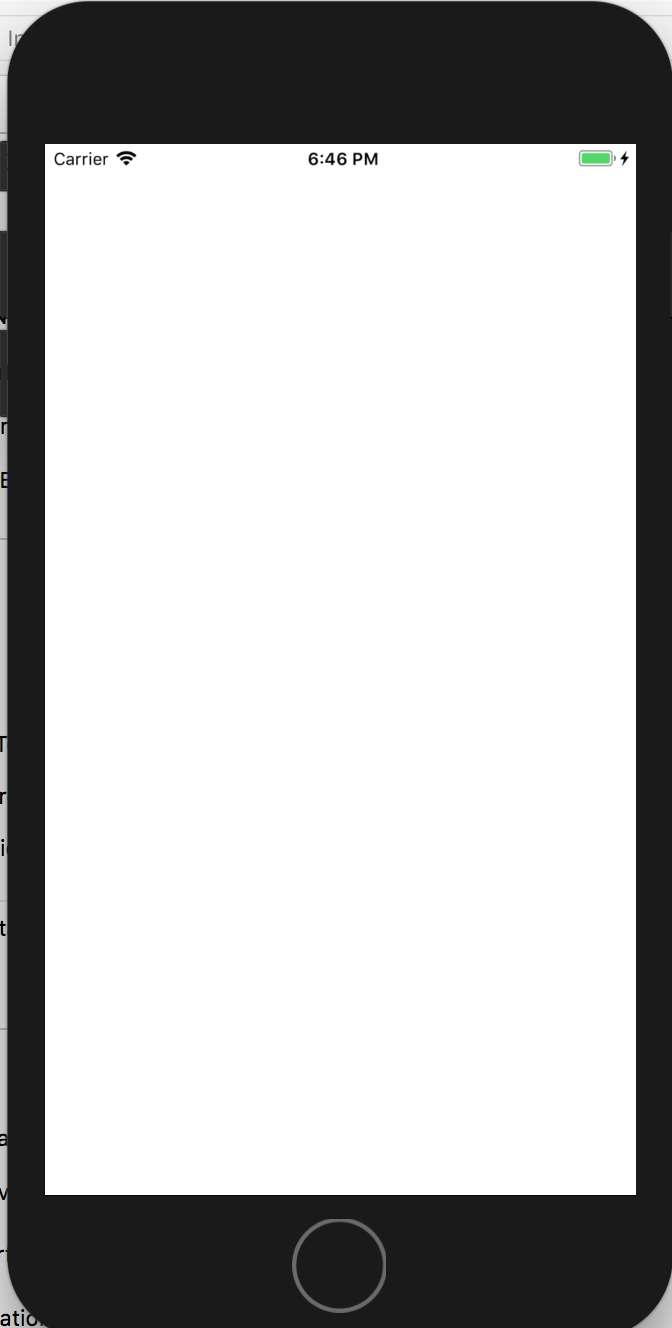
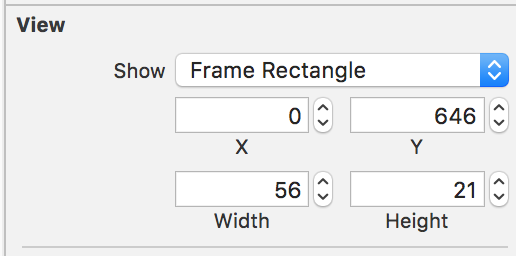
If we change the location of label to x=0 and y=0. The effect is as follows


If we shift the label to lower left corner


The location of Y changes


If we shift the label to top right corner but just below the battery image.


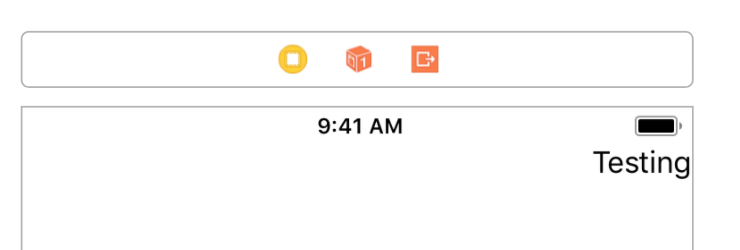
The location will be X=319 and y=20.


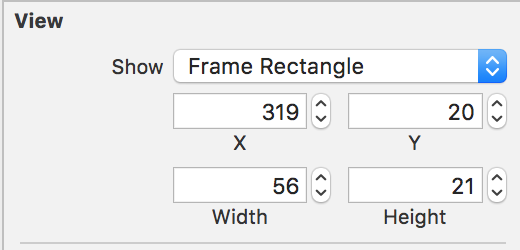
From the exercise above we know that the maximum of x is 319 and maximum of y is 646. To avoid the status bar at the top, we should offset y by 20.


We can also change the width and height of label in size inspector.


Please note that once the size is changed the relative location of the label will also be change.


We will covering other pane when needed.

Please check out the another simple video on placing and resizing label on Xcode.


***

Thursday, May 24, 2018

Introduction to iOS Development Series 1.3 - Storyboard

In this section, we will dive deeper into the workings of storyboard. For a start, select storyboard from Intro2 project as shown below:


The main screen will show as below:


As previously mentioned, the left side shows the hierarchy of the visual object on the storyboard. Officially, this section is known as Document Outline.  The storyboard on the right side allow us to place all the visual object such as label, textfield or button on it. To show or hide Document Outline, we just need to toggle the icon on the lower left corner of the storyboard.

Document Outline

Document outline in storyboard show us the visual hierarchy of the visual object. At default, there are already some objects that served as template for the storyboard.


The highest hierarchy is the view controller scene. Inside view controller scene, we have view controller. This is how the storyboard is link to the view controller file and it is why we can enter our code in the view controller to work with the visual object.


Under view controller, we have view. View represent the entire canvas in the storyboard. See screenshot below:


In iOS 11, Apple introduce safe area. Safe Area consist of the whole view area except the top portion status bar. The status bar consist of time, battery and 4G status.


All visual objects placed on the canvas will be under view.

Object Library

To place visual object, we need to access object library. To access object library, make sure the right pane is turn on as shown below:


At the bottom of right pane, we should have the library pane. The first library in the library pane is the File Template Library shown below:


We have 4 libraries under this section, they are in order from left to right:
  • File Template Library
  • Code Snippet Library
  • Object Library
  • Media Library


To select object library, select the third button from the left as shown below:


We can choose various visual object or we can search for the object we want by using the filter bar at the bottom.


Placing Visual Object

To place a visual object, let's search from object library. Enter "Label" in the filter bar.


To place visual object, drag the label icon and place it on the center of the canvas. As you drag the icon, there will be dotted line appearing on the canvas. These dotted lines will act as the alignment guide for us.


We can move or resize the label freely within the safe area. The image below shows us how to resize label horizontally.


The next image show us how to resize vertically.


The resulting label should be similar as below.

We will be going through this visual object in detail on next session.

Please check out the simple video on placing a label to the storyboard.


***

Wednesday, May 16, 2018

Introduction to iOS Development Series 1.2 - Running App

Now that we have a basic feel of Xcode and creating app project. We will create a project and run them. Let's create another project. We will be going through creating a new project once again.

Creating Our Second Project

To create our second project, we launch Xcode first. Once the program is launched, the screen as below will appear:


Select "Create a new Xcode project" as shown above. The following dialogue box will appear:


Make sure that iOS and Single View App is selected. Click Next.


In this page, we need to specify the project name. If your organization identifier is blank, you can put in the same as your organization name.


Make sure "Language" is set to Swift. We will not be using any of the option below, for simplicity we can checked "Include Unit Tests" . Click Next.


We need to select the location of the file. For now, we can unchecked "Create Git repository on my Mac".


Click "Create" when done. Once the project is created, we can run the project immediately.


Running App

Once the project is created, the system will automatically create the basic template of a single view app. We can run the app immediately by clicking on the play button as shown below.


Please note that we can choose different type of iPhone simulator to test the effect of our app.


Once the play button is clicked. The system will launch an iPhone simulator. Once the simulator is launched, the simulated app will appear as follows:


Since we have not add anything to the app. The empty app will run as above.


We can stop the app by clicking on the stop button as shown below:


Once stop button is click, the app will stop running.


The simulator might be still running as shown on the dock.


The simulator will go back to the home screen as shown below:


Process of Running App

Please note that the process of running an app consist of 2 part. For the first part, the Xcode will build the app first. Once the build is successful, the system will automatically run the app by launching the simulator.


Any error occurs during the building phase will be labeled as compiled error. Any errors that happen when the app is running is known as runtime error.


We can separate the 2 process by building the project first. We can build the app by using the menu dropdown under "Product". Click Build (cmd+b) to just build the project.


Once we have cleared all the compiled error, we can then run the app by clicking on Run (cmd+r).


Using App Simulator

As shown earlier, we can choose which device to simulate by selecting on the device as shown below.


A drop down list will appear allowing us to select the device which we want to test. If the device is not listed, it means that the device is not supported.


Once the app is running, we can test the app by changing the hardware behavior. We can do so by selecting "Hardware" from menu.


If our app supports both portrait and landscape mode, then we can rotate the device and observed the change on the app.


Alternatively, we can just change the orientation under "Orientation" as shown below:


We can try different hardware orientation to the test effect on our app.


While testing app, once common feature we want to the is the on screen keyboard. At time, the onscreen keyboard did not appear because the simulator recognize out system keyboard. To toggle the onscreen keyboard, select "Keyboard" and select "Toggle Software Keyboard" .


Onscreen keyboard will appear when toggle. This only work for visual object that support keyboard such as text field.

The video below shows how to run an empty app and work with iPhone simulator.


***


Tuesday, May 15, 2018

Introduction to iOS Development Series 1.1 - Navigation Pane Overview

The navigation pane allow us to move around various section of the project. In the navigation pane, we have 8 types of navigator. We can find out each type of navigator by hovering over each icon. It will a small tip such as "Show project navigator" etc.


There different navigator, in order, are:
  1. Project Navigator
  2. Source Control Navigator
  3. Symbol Navigator
  4. Find Navigator
  5. Issue Navigator
  6. Test Navigator
  7. Debug Navigator
  8. Breakpoint Navigator
  9. Report Navigator


At the beginning stage the most common navigator we used are project navigator and issue navigator. Project navigator organized our program files into various section. We will be spending most of our time in project navigator.


Issue navigator will display all the issue we have when our app could not be build. Issue navigator will bring us to the right location where the problems are so that we can fix them.


Project Navigator

Project navigator is the most frequently used section. In the project navigator, we have various drop down folder starting from the project folder followed by 3 sub folder.


If we expand the folder further by clicking on the triangle, it will shows all the files under each folder as shown below. To build an app, we need to utilized multiple files.


Project Configuration

To explore project configuration, we must select the project title at the project navigator as shown below:


Once the project title is selected, the section at the middle will display the details as shown below:


This is the project configuration page. This section allows us to set build attribute or change those settings. The project configuration page is quite complex. We will be covering only the first 3 section under the general tab.
Section 1: Identity - This section shows the basic information such as the name of the project and its version.


Section 2: Signing - This section is important when we need to deploy the app. Otherwise, we can ignore the error message.


Section 3: Deployment info - this section dictate how our app will be deployed. Please refer to the details below:


  • Deployment target refers to the current version of iOS
  • Devices allowed us to build an app for an iPhone or iPad or both. If the devices is set as Universal, this allows an app to be run on both iPhone or iPad.
  • We usually do not adjust Main interface. We will leave it as that.
  • Device Orientation allow us to set orientation for our app. We can remove the landscape checkbox so that our app will only run in Portrait mode.
  • We will leave the rest of setting untouch.
  • The common settings that we will change are Devices and Device Orientation.


Main Project Folder

Most of the program files are located at the main project folder as shown below


We will be touching AppDelegate.swift, ViewController.swift, Main.storyboard, Assets.xcassets and info.plist

AppDelegate

Select the file AppDelegate.swift as shown below.


The middle section will display the details of this file.


AppDelegate.swift is the main file of the app. It is also the first file that the app picks up before an app is launched. We can modified this file by dictating the behavior of the app when the app become active or enter into the background. In the file, we have some templates available, where we can define the app behavior. Please read the comment in green. For simple app, we do not need to modified this file. Only at advance stage, where we want to customize the app behavior, then we will modify the template.


View Controller

View controller file can be access by select the file in the project navigator as shown below.


This file is practically empty. All the logic and control of the app will be handled by this file. We will be working on this file to control the behavior of the app


Main Storyboard

Main storyboard file can be access by select the file in the project navigator as shown below.


The details of storyboard is shown as below:


On the right hand side, this is the visual representation of the app. On the canvas, we can place various visual objects and arrange them according to our preference.


The left side shows the hierarchy of the visual object. It is also known as Document outline. We can collapse the visual hierarchy by toggle the icon as shown below:


Assets

The folder Assets.xcassets can be access by selecting the  folder as shown below:


The details is as below


This is where we manage the icon image. In addition, all image resource to be used in this app will be managed here. We can add folder or image using the + icon on the lower left corner.

Info Plist

The file info.plist contains information about this app. For now we will not be messing with the plist here.


Issue Navigator

When we select issue navigator. If the app has no build issue and no runtime issue. It will be shown as below.


Examples of issue navigator with build error are shown below


***