Basics of Class and Objects
Now, we are familiar with the concept of class. We are ready to define and implement class.
Define Class
To define structure, use the syntax:
class <name_of_class> {
// Definition of Class
}
Note: For name of class, use capital letter for the first letter to represent that it is a data type.
class TransportVehicle {
// Definition of Class } |
Define Properties
Next, we were to define properties. We define properties similar to the way we define variables.
class TransportVehicle {
// Properties var speed = Double() var maximumLoad = Double() var numberOfPassenger = Int() } |
Please note that by defining properties as above, each properties are initialized. Therefore, we do not need initializer.
However, if we were to define properties as below:
class TransportVehicle {
// Properties var speed:Double var maximumLoad:Double var numberOfPassenger:Int
}
|
It will generate error and tell us that initializer is missing:
Please note that we can use constant or variables in the class definition.
Initialization
When we implement class, all properties must be initialized. In addition, we can also take advantage of the initialization process to define our default value.
To define initialization, we use the init() for default initialization. We can also provide different way of initializing the instance.
Let look at our example
class TransportVehicle {
// Properties var speed:Double var maximumLoad:Double var numberOfPassenger:Int init() { self.speed = Double() self.maximumLoad = Double() self.numberOfPassenger = Int() } } |
In the example above, we just initialized all properties to zero. To create an instance, please see the code below:
var someTransportVehicle = TransportVehicle()
|

We can also set the default value as per our preference.
class TransportVehicle {
// Properties var speed:Double var maximumLoad:Double var numberOfPassenger:Int init() { self.speed = 1.0 self.maximumLoad = 10.0 self.numberOfPassenger = 1 } } var someTransportVehicle = TransportVehicle() |
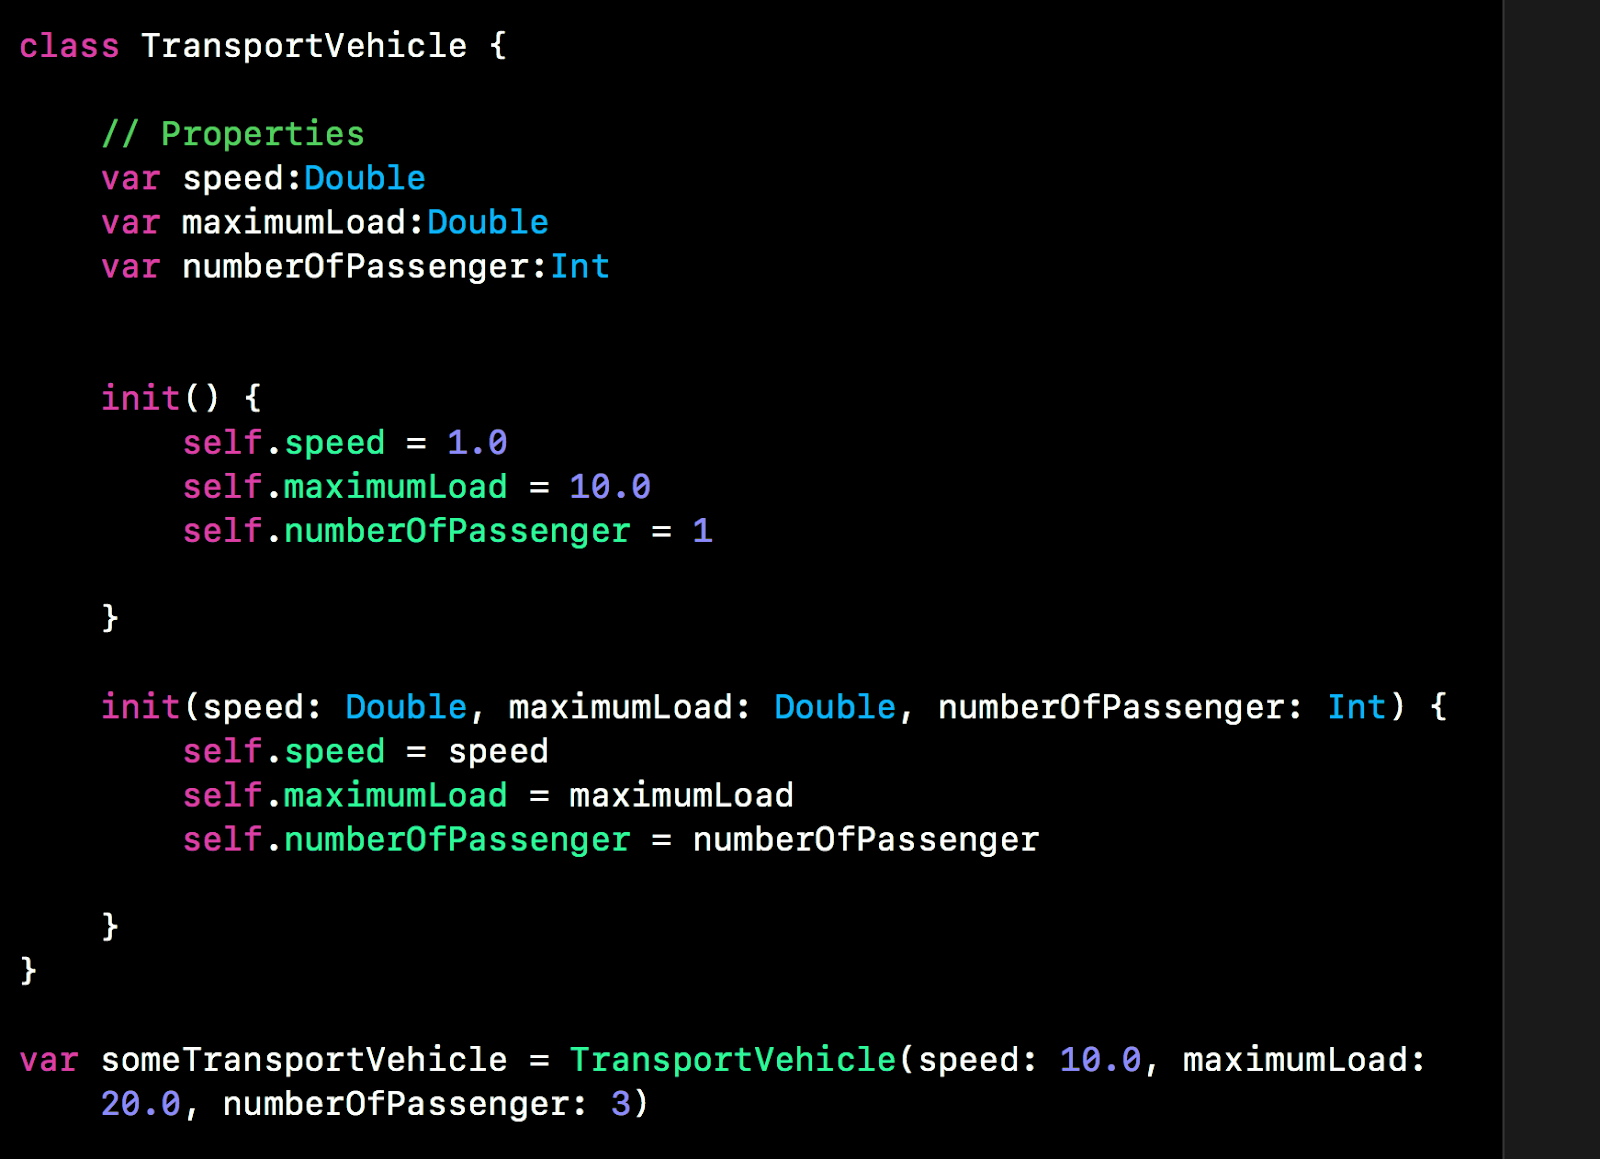
As mentioned earlier, for structures, the system will automatically provide construct for programmer to enter the data. In Class, we must manually define the construct to enter data.
class TransportVehicle {
// Properties var speed:Double var maximumLoad:Double var numberOfPassenger:Int init() { self.speed = 1.0 self.maximumLoad = 10.0 self.numberOfPassenger = 1 } init(speed: Double, maximumLoad: Double, numberOfPassenger: Int) { self.speed = speed self.maximumLoad = maximumLoad self.numberOfPassenger = numberOfPassenger } } var someTransportVehicle = TransportVehicle(speed: 10.0, maximumLoad: 20.0, numberOfPassenger: 3) |
What happen if we have some addition variable for internal used, we also need to initialize them:
class TransportVehicle {
// Properties var speed:Double var maximumLoad:Double var numberOfPassenger:Int // Internal Used Properties var totalUseage: Int var preference: Int let maximumUsed = 50 init() { self.speed = 1.0 self.maximumLoad = 10.0 self.numberOfPassenger = 1 self.totalUseage = 0 self.preference = 0 } init(speed: Double, maximumLoad: Double, numberOfPassenger: Int) { self.speed = speed self.maximumLoad = maximumLoad self.numberOfPassenger = numberOfPassenger // User need to enter value but we still need to initialize them self.totalUseage = 0 self.preference = 0 } } |
We have added 3 variable for used in the code above. One of them is constant and it is already defined with a fixed value, so initialization is not required. The other 2 internal value must be initialized.
Please also note that in the second initialization where we allow programmer to enter values, we also need to initialize the internal value.
Create a Class Instance
Similar to structure, we can create an instance of class to use. The syntax is as follow:
let/var <instance_name> = <class>()
Or
let/var <instance_name> = <class>(<parameter>)
var someTransportVehicle1 = TransportVehicle()
var someTransportVehicle2 = TransportVehicle(speed: 10.0, maximumLoad: 20.0, numberOfPassenger: 3) |

Although the syntax is similar when creating instance. Structure and class instance behave very differently. For class implementation, regardless if the instances is constant or variable, we are able to change properties that are defined as variable. Please note that we cannot change constant property whether it is a constant instance or variable instance.
When we create an instance object as variable, an instance is created and a reference to the instance is created using the variable name. Using layman analogy, when we create an instance, it is similar to a house is built. Class definition is just a floor plan. To use the house, we need the address of the house. The address is stored as variable. So the house is still a house, variable instance means the address is changeable. Constant instance means the address is not changeable.
Based on the example above, someTransportVehicle1 is a reference to the first object. The second variable someTransportVehicle2 is a reference to another instance.
If we add a statement as follows:
someTransportVehicle1 = someTransportVehicle2
|
We are transferring the reference from someTransportVehicle2 to someTransportVehicle1. So both variable reference to the same instance object and the first instance object is lost since no variable is reference to it.
This create problem for memory management. If we create many instance and we keep doing something similar, we will have many instance object that are lost. Fortunately, Swift provide automatic memory management. In the example above, the lost instance will be removed by Swift and free up the memory.
If constant instance is created, this means that the reference to the object is permanent and cannot be changed. So it is recommended to use constant in class instance. Only use variable instance when necessary.
Accessing and Setting Properties
We can access the properties using the period (.).
someTransportVehicle2.speed
someTransportVehicle2.maximumLoad someTransportVehicle2.numberOfPassenger someTransportVehicle2.maximumUsed |

We can set properties using the rules below:
Regardless of whether it is a constant or variable instance:
- We can set variable properties
- We cannot set constant properties
To set the properties, see example below:
someTransportVehicle2.speed = 45.7
someTransportVehicle2.maximumLoad = 50.6 someTransportVehicle2.numberOfPassenger = 20 |

The following example shows that error will generate if we attempt to set constant:

When designing class, to protect the settable properties, we can prevent properties to be set using private(set) keyword. Why would we want to prevent the properties from being set? For complex class, we may want to hide the complexity from the programmer and we can provide a method or initializer for programmer to set or change the properties. We will explore this during advance implementation.
Define Methods
Methods are functions that belong to a class. Instances method are function that belong to an instances of class.
We can create a function to display one of the internal variable.
func displayInternalUsedNumber () {
print("The internal used number is \(self.maximumUsed).") } |
The whole class definition is as follows:
class TransportVehicle {
// Properties var speed:Double var maximumLoad:Double var numberOfPassenger:Int // Internal Used Properties var totalUseage: Int var preference: Int let maximumUsed = 50 init() { self.speed = 1.0 self.maximumLoad = 10.0 self.numberOfPassenger = 1 self.totalUseage = 0 self.preference = 0 } init(speed: Double, maximumLoad: Double, numberOfPassenger: Int) { self.speed = speed self.maximumLoad = maximumLoad self.numberOfPassenger = numberOfPassenger // User need to enter value but we still need to initialized them self.totalUseage = 0 self.preference = 0 } // Methods func displayInternalUsedNumber() { print("The internal used number is \(self.maximumUsed).") } func description () -> String { return "This is the base class" } } |
Executing Methods
For the implementation, we create an instance as constant. We read the speed value and change the speed value by setting a new value. We use the method provided to read one of the internally used variable. We also use another method to print the description of the class.
let someTransportVehicle3 = TransportVehicle(speed: 50.0, maximumLoad: 20.0, numberOfPassenger: 4)
someTransportVehicle3.speed someTransportVehicle3.speed = 80 someTransportVehicle3.speed someTransportVehicle3.displayInternalUsedNumber() print(someTransportVehicle3.description()) |

Nested Class Instance
Similar to structure, we can also implement a class instance within a class. For example, if we have previously written a class on employee. We can make use of the class to implement our list of employee social activities.
class EmployeeInfo {
// Proeprties var employeeID = Int() var employeeName = String() var employeeAddress = String() var employeeContact = Int() var employeeEmergencyContact = Int() // Init init() { } // ... additional implementation previously written .... } class EmployeeSocialActivities { // Structure struct SocialActivities { var volunteerOrganization = String() var natureOfWork = String() var numberOfHoursVolunteered = Int() } // Property var employeeBasic = EmployeeInfo() var employeeListOfSocialActivites = [SocialActivities]() // Init init() { } } |
We assume that class definition for EmployeeInfo was previously written. So to implement a class that contains a list of social activities an employee volunteered, we do not need to define employee contact. Instead, we make use of the previously written class by create an instance within the class definition of social activities.
Please also take note that when we define EmployeeSocialActivities class, we have defined a basic structure within the class. The basic structure contains basic information of where the employee volunteered, number of hours volunteered and the nature of the work. However, an employee may volunteer for more than one activities. Therefore, our properties is actually an array of volunteer information.
In summary, we can define structure or enum within a structure or class. We can also create any types of instances (structure, enum or class) within a class definition. We can also define a class within the class but such case is rare. We will define another structure or class within a class definition provided that the class or structure is unique to the current class definition and it will not be share for other uses.
Implementation of Class
Using the contact list example we have, we can convert the program into a class. Please note that we can include structure in a class. We can also
// Class of List
class ContactList { // Structure of Contact struct Contact { // Properties var firstName: String var lastName: String var mobileNumber:Int var email:String var twitterHandle:String } // Properties var contactList = [Contact]() // Init init() { self.loadContactList() } // Methods func loadContactList () { let contact1 = Contact(firstName: "John", lastName: "Smith", mobileNumber:82736487, email:"john.smith@outlook.com",twitterHandle:"@johmsmith") let contact2 = Contact(firstName: "Steve", lastName: "Carpenter", mobileNumber:92873432, email:"steve.carpenter@outlook.com",twitterHandle:"@stevecarp") let contact3 = Contact(firstName: "Mathew", lastName: "Emerson", mobileNumber:9876547, email:"mathew.emerson@gmail.com",twitterHandle:"@matemerson") contactList += [contact1, contact2, contact3] print("Load complete") } func displayContactList () { let total = contactList.count for (index, eachContact) in contactList.enumerated() { print("Contact \(index)") print("First Name: \(eachContact.firstName) Last Name: \(eachContact.lastName)") print("Mobile: \(eachContact.mobileNumber)") print("Email: \(eachContact.email)") print("Twitter: \(eachContact.twitterHandle)") } print("total count = \(total)") print("-----------------------------------------") } func storeContactList () { print("Contact list stored!") displayContactList() } func addContact (myContactAdd: Contact) { contactList.append(myContactAdd) print("contact added!") } func removeContact (index: Int) { contactList.remove(at: index) print("contact removed") } func editContact (index: Int, myContactEdit: Contact) { contactList[index] = myContactEdit } } |
The implementation code is as follows:
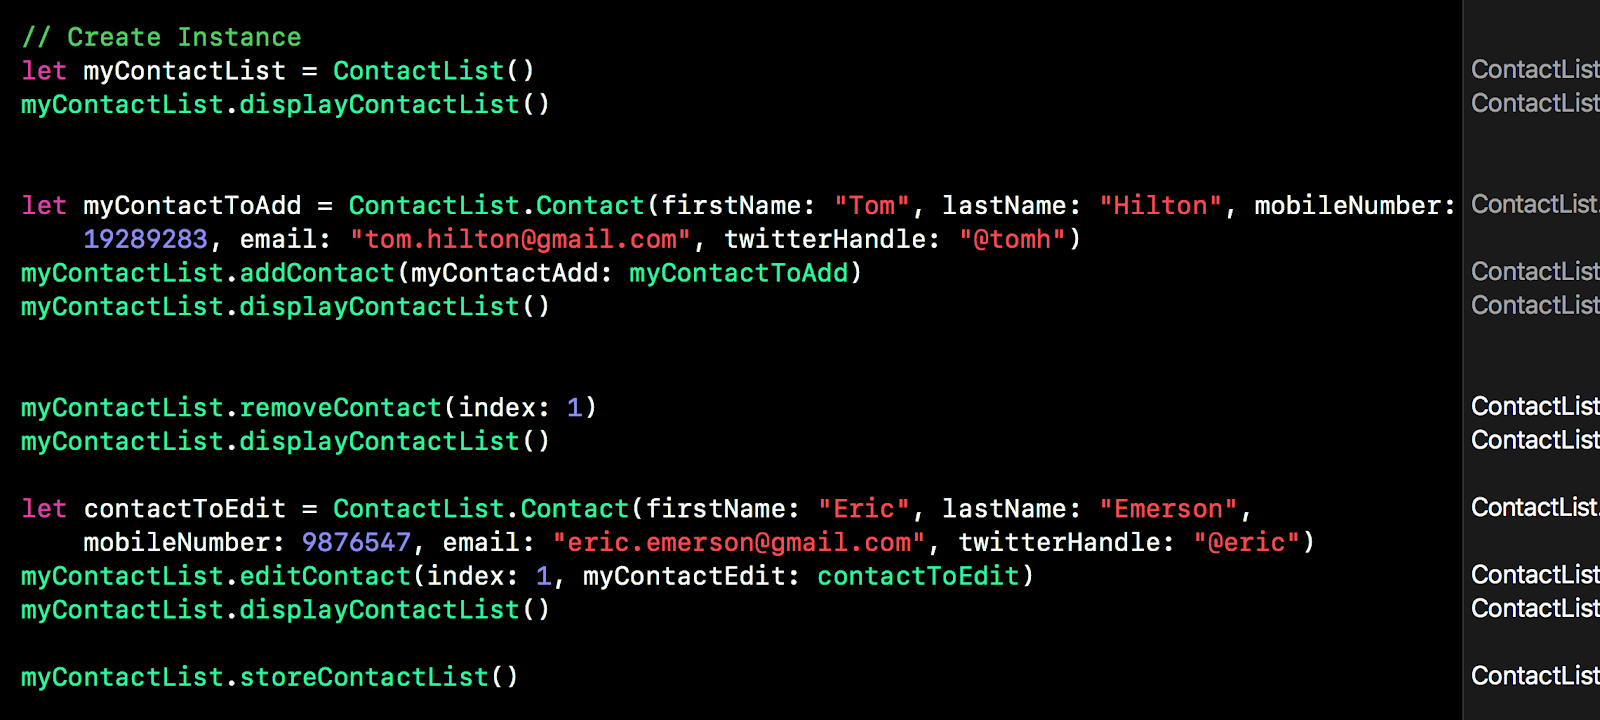
// Create Instance
let myContactList = ContactList() myContactList.displayContactList() let myContactToAdd = ContactList.Contact(firstName: "Tom", lastName: "Hilton", mobileNumber: 19289283, email: "tom.hilton@gmail.com", twitterHandle: "@tomh") myContactList.addContact(myContactAdd: myContactToAdd) myContactList.displayContactList() myContactList.removeContact(index: 1) myContactList.displayContactList() let contactToEdit = ContactList.Contact(firstName: "Eric", lastName: "Emerson", mobileNumber: 9876547, email: "eric.emerson@gmail.com", twitterHandle: "@eric") myContactList.editContact(index: 1, myContactEdit: contactToEdit) myContactList.displayContactList() myContactList.storeContactList() |
Please note that the implementation is similar to the structure. The exercise above just proves that we could implement the contact list code in class instance. However, we did not take advantage of special feature for class.
Summary
In this chapter, we only introduce the basics of class and class instance. Designing class and working class object belong to the methodology of object oriented programming (OOP). OOP is very powerful programming techniques and there are many advance features.
***
No comments:
Post a Comment