In this session, we will be looking into how to run an app on our iPhone. Previously, only users with Apple Developer Program are allowed to installed app on the iPhone. However, Apple had changed the rule and allow casual developer without Apple Developer Program to install apps on their personal iPhone.
Although this change is welcome by the developer community, however, people start abusing the system and distributing apps outside the app approval system. This abuse potentially introduce security issue as these third party apps are not approved by Apple. To mitigate this problem, Apple changed the rule again and limits the life span of the installed app to 7 days.
Yes, if we install our app onto our iPhone, it will work for 7 days and after that, we need to re-install the app again.
Preparation of An App
For a start, lets create a new app as follows:
We will be using this app for this session and next session. So please name the app "Intro8n9".

Make sure that we also create a local repository.

Click Create to create the project. Next, go to our Github page and create a new repository as screen shots below. Click the green button "New repository".

Under the create screen enter the repository name, which should be the same as our project name. Also enter a brief description. Please remember not to create a README file. Click Create repository.

Please remember to copy the repository address as shown below.

Now, lets go back to Xcode. First we need to configure the remote repository. Go to Configure Intro8n9.

Under the Remote tab, as shown below. Click + to add remote site.

Once we click Add remote.., paste the address from Github to the address box as shown below. Click Add Remote.

Now, we need to perform a commit and push a the same time to the new site. Click Commit...

Under the commit page, add comment and make sure the option "Push to remote" is checked. Click Commit...

You might be asked to enter the login credential of Github if you have not done so. Enter the login credential to complete the commit and push. Refresh your Github page and it will show the following screen shots.
Now, we need to add a README file. Click on the green button "Add a README" in the screen shot above. The create page is shown below. We need to add addition description.

Click on Commit new file as shown below to create a README file.

Now the repository in Github has the latest update. Perform a pull from the Github page. On the Xcode, click Pull from source control. The following screen will appear. Click Pull again to complete the pull.

Now, the local site and remote site are in sync. Now we can create our app. For simplicity sake we still create the same app in session 6 or 7.
Programming an App
Place textfield and label on the storyboard.The auto layout for the textfield is as follows, 100 point from top margin and 0 point for left and right edge as shown below.

The auto layout for label is similar except that it has 200 point for is top margin.

The properties of the textfield is as follows:

The properties for label is much simpler. We just need to center the text.

Now, we need to link textfield and label to the view controller. First, change to assistant mode as shown below.

Now, Control+drag the textfield to view controller. The connection dialogue box is as shown below. Click Connect.

Perform the same thing for label as shown below. Click Connect.

The code after the connection is as follows;

Now, we can switch back to standard editor mode.

Now, we add UITextFieldDelegate as shown below.
We also need to add the following code under viewDidLoad() function.

Under a separate section, add the textfield function as shown below. This is the same code as session 6 or session 7, therefore, we just show the screen shot instead of code. Please refer to session 6 for code.

Now, we test and run the app on iPhone 5.
Once we click on the textfield, the keyboard should appear as follows.

After entering our text, the keyboard should disappear when we click Go. The label will show what's entered in the textfield.

If the testing is successful, we need to perform a commit and update remote site. If we encounter any problem, we need to go through session 6 in detail.

Fill up the commit comment and remember to push to remote site.

The Github page should have the latest update as shown below.

Run App on iPhone
Now, we are ready to setup and run our app on our iPhone. First, make sure that we have an Apple ID. On Xcode, go to Preference as shown below.
Under account tab, make sure that our Apple ID is registered. If not, click + button to add the Apple ID. The system may ask for your Apple ID password.

Now, connect the iPhone to our Mac or Macbook.
Once the iPhone is connected, we should be able to see the iPhone under Device. Currently our screen shot shows no device, but when an iPhone is connected, the name of the iPhone will appear under Device.

Select the iPhone as the device to run. Click the run button. We might have an error message as shown below.

To fix this issue, we can just click Fix Issue. Alternatively, we can fix it by going to the general setting page as shown below.

Under the first section, select the profile that link to our Apple ID under Team.

Once the profile issue is fixed. The system will try to run the app on the iPhone. For first time installation, there will be an error that says "Cannot launch Intro8n9". To fix this, we need to do something on our iPhone. On our iPhone, go to Settings -> General -> Device Management. There should be a developer profile that is linked to the Apple ID in the Xcode. Click on the profile and click to trust the certificate.
After we have trusted the developer certificate, we can run the app again from Xcode and the app will run without any error message.
Please note that there will always be a warning message on the Xcode as shown below. This is because the provisioning profile only last for 7 days.

If you go to preference in Xcode, select Account and look for the Apple ID. Click on View Detail and the provisioning profile will show something similar as below.

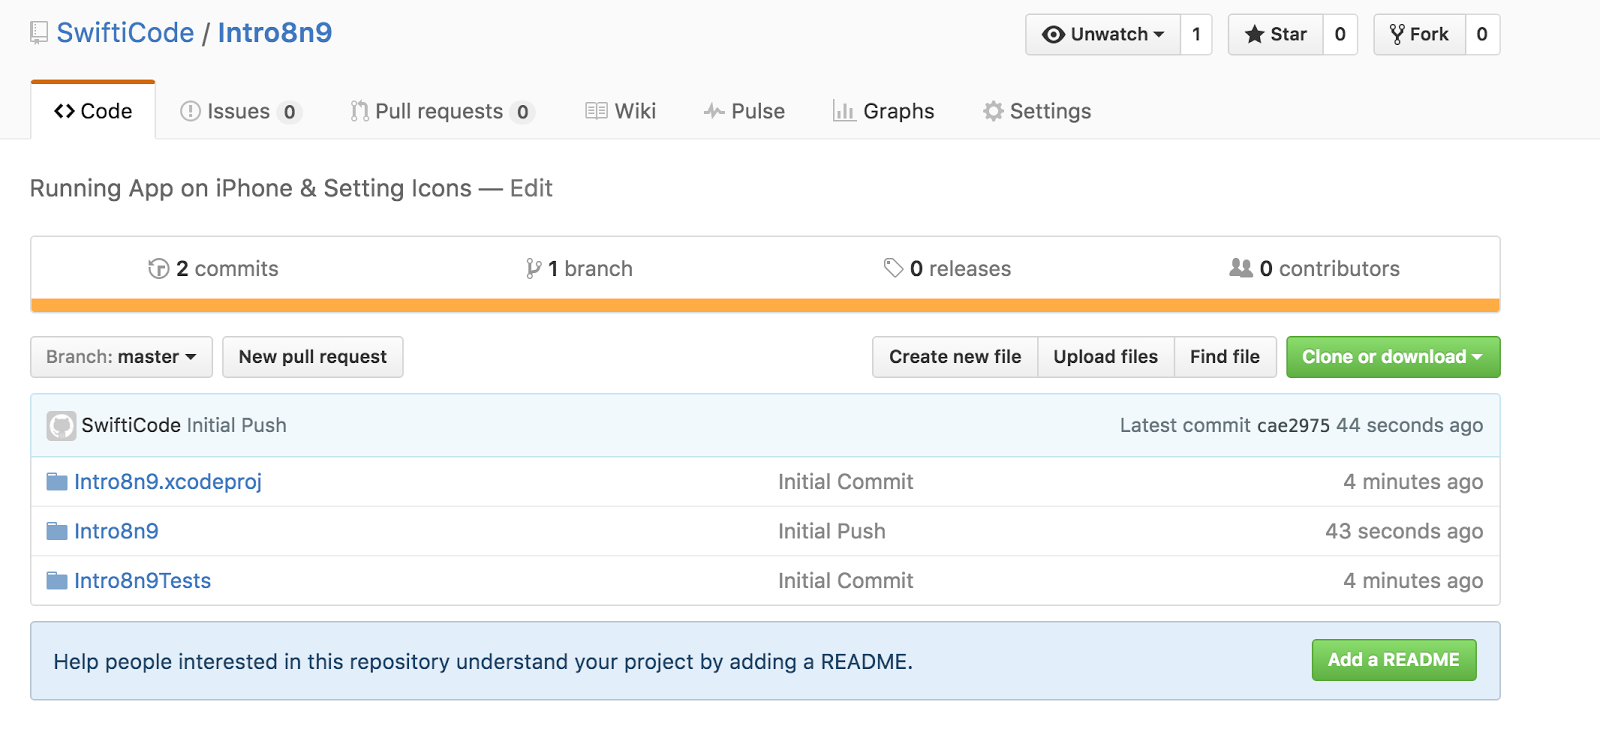
A copy of this project is stored at Github at https://github.com/SwiftiCode/Intro8n9
*** End ***
No comments:
Post a Comment