Chapter 5: Basic Control Flow
We have two major class of control flow. The first is loops and the second is conditional branch statement.
Loops
In Swift, we have 3 types of loops, the for-in loop, while loop and repeat-while loop.
For-In Loops
As we have learned in the previous chapter, for-in loops is used to iterate a collection of data. The general syntax is as follows:
for <index_name> in <collection_of_data> {
<instruction_for_each_iteration_using_index_name>
}
Note: Please note that <index_name> is implicitly declared as a constant.
Example:
for numbers in 1...5 {

    print("Number: \(numbers)")

}

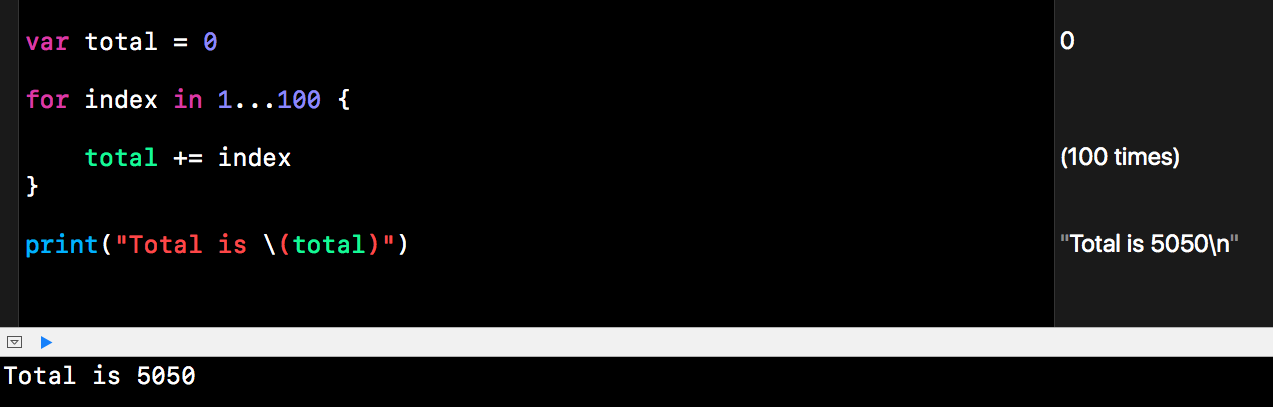
We can also perform computation as follows:
var total = 0

for index in 1...100 {

    total += index
}

print("Total is \(total)")
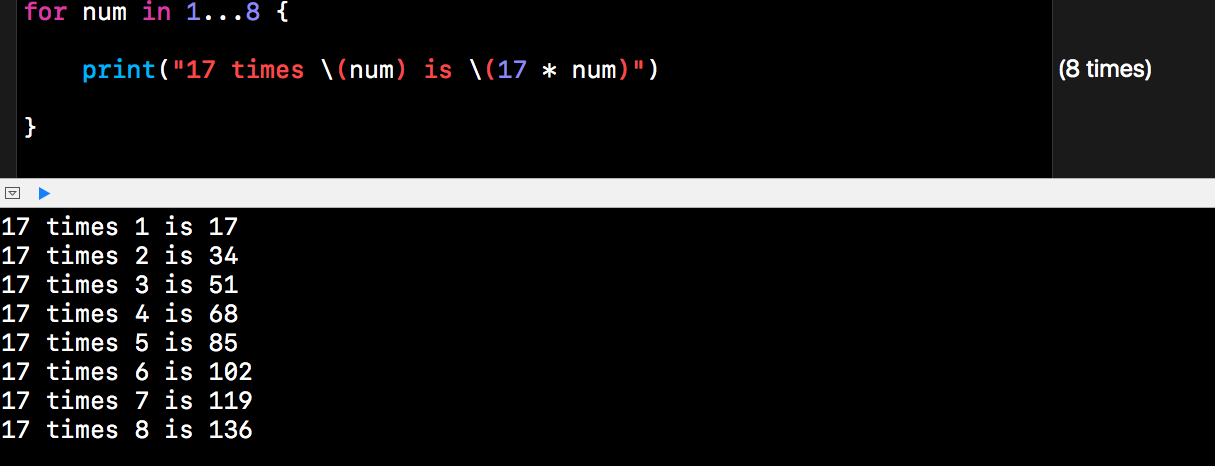
Another example:
for num in 1...8 {

    print("17 times \(num) is \(17 * num)")

}
We can also use for-in loop to perform a task a number of times.
Example:
let xNumber = 2

let yPower = 10

var result = 1

for _ in 1...yPower {

    result *= xNumber
}

print("2 to the power of \(yPower) is \(result).")

In the previous example, we just need the loop to run yPower times. In such cases where index is not required, we can substitute the index name with underscore (_).
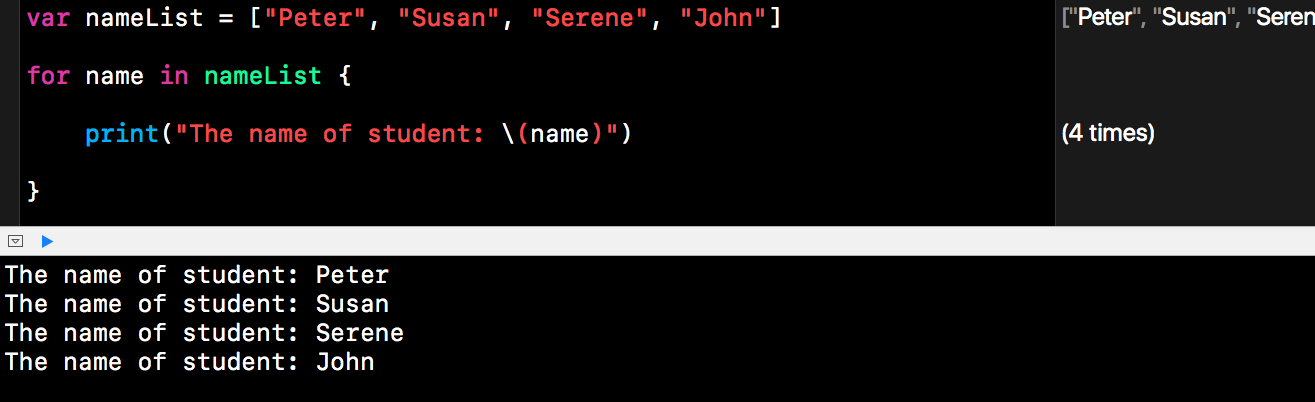
For-In Loop with Array
To iterate every item in an array, we use a for-in loop as follows:
var nameList = ["Peter", "Susan", "Serene", "John"]

for name in nameList {

    print("The name of student: \(name)")

}
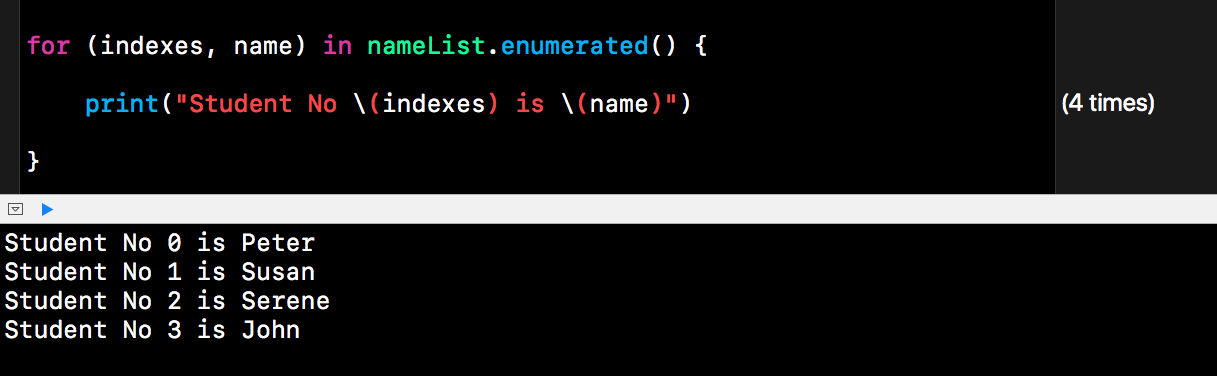
To include an index, we need to use enumerated() method in array. Syntax as shown below:
for <index_name> in <collection_of_data>.enumerated() {
<instruction_for_each_iteration_using_index_name>
}
Example:
 for (indexes, name) in nameList.enumerated() {

    print("Student No \(indexes) is \(name)")

}
Additional Note:
- We can name the indexes or name in any name. The first name will be index and the second name will be the array item.
- We need to run the method enumerated() to include the indexes.
Listed below is an example where we flip the name and index, as shown in the result, the first name is always index regardless of what we call them.

While Loops and Repeat-While Loops
A while loop will perform a set of routine until a condition ask the loop to stop. We can use this type of loop when we do not know the number of iteration. Although we can also use it even when we know the number of iteration. In Swift, we have two type while loop, they are:
- while loop that examine the condition first before a start of the loop.
- repeat-while (same as do-while in other language) loop that examine the condition after the first routine is done.
While Loops
As mentioned earlier, while loop examine the condition first before running the routine. The syntax is as follows:
while <condition_that_evaluate_to_boolean_value> {
<set_of_routine_instruction>
}
Example:
We use the same example of adding 1 + 2 + … + 100. The result should be 5050.
var increment = 0

let endMark = 100

var accumulater = 0

while increment < endMark {

    increment += 1

    accumulater += increment

}

print("If we add 1 + 2 +...10, the result is \(accumulater).")

}

The previous example is not very good. A for-in loop can also do the same job with less variable. A typical example of using while loop is to display a menu and exit the loop when user ask to exit.
While userChoice != "9" {
/*
The program will continue running this routine
By displaying a menu
And accepting users' menu choice until user choose 9 which is meant for exit
*/
}
*/
}
Another example is for the loop to iterate through an array until a outlier or defect is detected. In this case, we stop the routine when we found product is less than 90% accurate:
let products = [98, 97, 99, 100, 96, 12, 98, 97]

var x = 0

while products[x] > 90 {

    print("This product is \(products[x])% accurate.")

    x += 1

}

print("Defect detected, product inspection stop now.")


The routine will stop when the accuracy is less than 90%.
Repeat-While Loop
Repeat while loop will perform a set of routine instruction first before examine the condition. The syntax is as follows:
repeat {
<set_of_routine_instruction>
} while <condition_that_evaluate_to_boolean_value>
Example:
Using the same example of adding from1 to 100.
var increment = 0

var sum = 0

let endMark = 100

repeat {

    sum += increment

    increment += 1

} while increment <= 100

print("The sum of adding 1 to 100 is \(sum).")

As shown in the example above, we have to run the routine 101 times since the increment and sum are 0 from the start. The first routine is not useful in this case.
Conditional Branch Statement
For most programming language, conditional branch statement consist of If-else-elseif statement and switch statement.
If Statement
We use if statement when there is only a few possible permutation. The basic syntax of if statement is as follows:
if <condition_that_evaluate_to_boolean_value> {
<set_of_routine_instruction>
}
}
For 2 possible permutation, the syntax is as follows:
if <condition_that_evaluate_to_boolean_value> {
<set_of_routine_instruction>
} else {
} else {
<alternative_set_of_routine_instruction>
}
For more than 2 possible permutation, the syntax is as follows:
if <condition_that_evaluate_to_boolean_value> {
<set_of_routine_instruction>
} else if <condition_that_evaluate_to_boolean_value> {
} else if <condition_that_evaluate_to_boolean_value> {
<alternative_set_of_routine_instruction>
} else {
<alternative_set_of_routine_instruction>
}
Using if-else_if-else we can extend the permutation to many possible outcome. However, too many if statement will make the code too confusing. When there are many permutations, it is best to use switch statement.
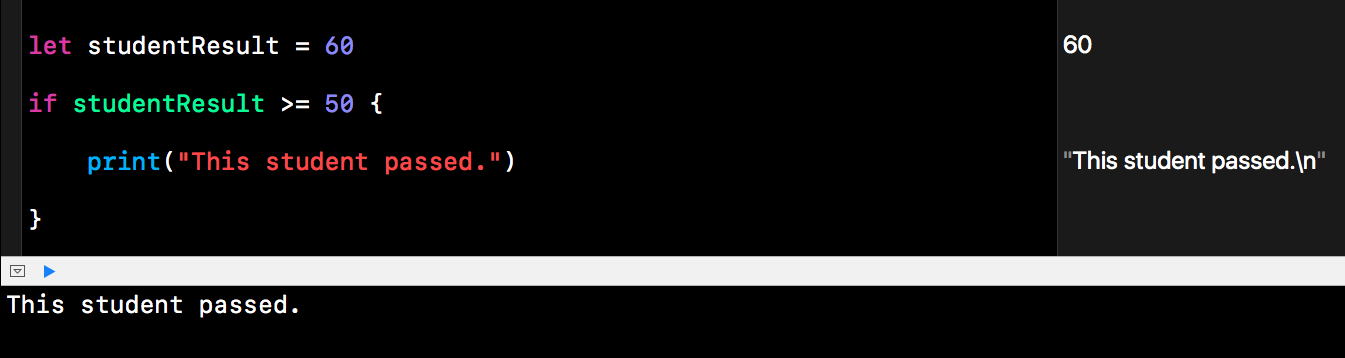
Example:
let studentResult = 60

if studentResult >= 50 {

    print("This student passed.")

}
Example 2:
let anotherStudentResult = 47

if anotherStudentResult >= 50 {

    print("This student passed.")

} else {

    print("This student failed.")

}

Example 3:
let yetAnotherStudentResult = 63

if yetAnotherStudentResult >= 90 {

    print("This student grade : A")

} else if (yetAnotherStudentResult < 90) && (yetAnotherStudentResult >= 80) {

    print("This student grade : B")

} else if (yetAnotherStudentResult < 80) && (yetAnotherStudentResult >= 70) {

    print("This student grade : C")

} else if (yetAnotherStudentResult < 70) && (yetAnotherStudentResult >= 60) {

    print("This student grade : D")

} else if (yetAnotherStudentResult < 60) && (yetAnotherStudentResult >= 50) {

    print("This student grade : E")

} else {

    print("This student grade : F")

}


For the previous example, it is best if we use switch statement. This example just demonstrate that you can have many condition or permutation using if-elseif-else statement.
Switch Statement
Switch statement is used when we have more possible permutation in a condition evaluation. The syntax is as follows:
switch <variables> {
case <value1> :
<statement_to_execute_if_value_is_value1>
case <value2>, <value3> :
{
<group_of_statement_to_execute_if_value_is_value2_or_value3>
}
default:
<execute_the_statement_if_value_fall_outside_previous_case>
}
Additional Note:
- In a switch statement, every possible condition must be met.
- The case statement must be exhaustive.
- Each case statement must have an execution statement, otherwise error will be generated.
- If it is not possible to list down every condition, use default as the catch all phrase.
Example:
We convert the previous example to switch statement.
let yetAnotherStudentResult = 63

switch yetAnotherStudentResult {
case 90...100 :
    print("This student grade : A")
case 80...89 :
    print("This student grade : B")
case 70...79 :
    print("This student grade : C")
case 60...69 :
    print("This student grade : D")
case 50...59 :
    print("This student grade : E")
default:
    print("This student grade : F")
}

For multiple condition, switch is much more neater.
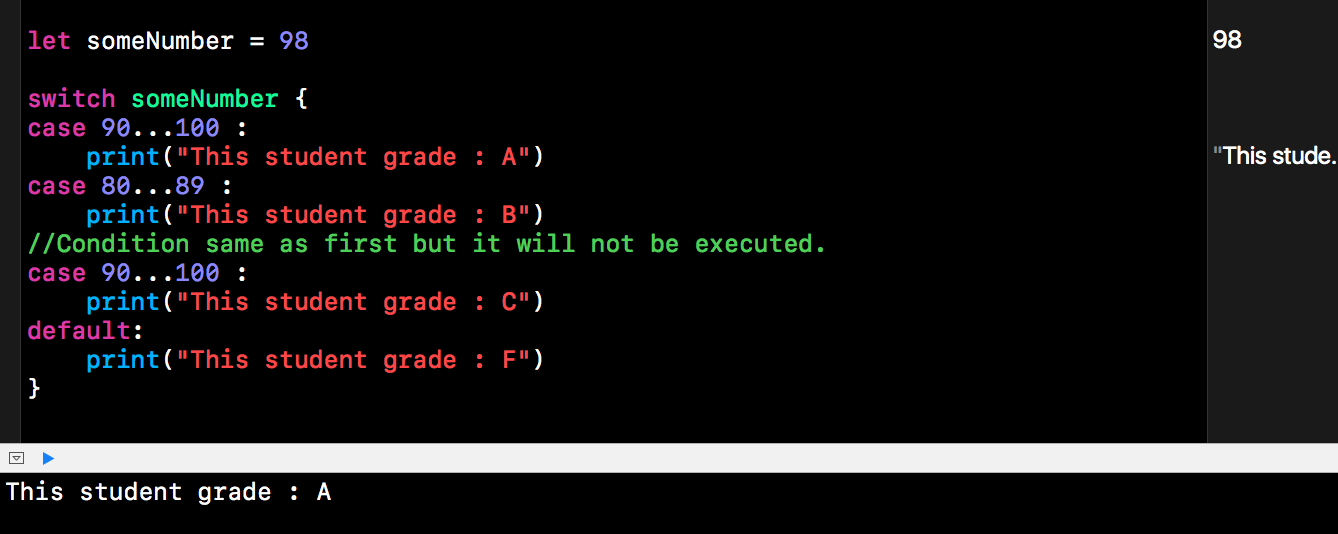
Compare to C and Objective-C, switch statement in Swift doesn't fall through, therefore break statement is not necessary. Switch statement in Swift will stop comparing values once the first condition is met. Switch statement in C will continue running through each condition if there is no break. Take the example below, the switch statement will act on the first case statement and stop even there is another similar condition below.
Example:
let someNumber = 98

switch someNumber {
case 90...100 :
    print("This student grade : A")
case 80...89 :
    print("This student grade : B")
//Condition same as first but it will not be executed.
case 90...100 :
    print("This student grade : C")
default:
    print("This student grade : F")
}
Each case statement must have an execution code, otherwise it will generate error.

To compare more than a value in switch, we use comma.
Example:
let someNumber2 = 67

switch someNumber2 {
case 80...100 :
    print("This student grade : A")
// In the following case we intentionally left out 69
case 70...79, 60...68 :
    print("This student grade : Pass")
case 50...59 :
    print("This student grade : Barely Pass")
default:
    print("This student grade : Fail")
}

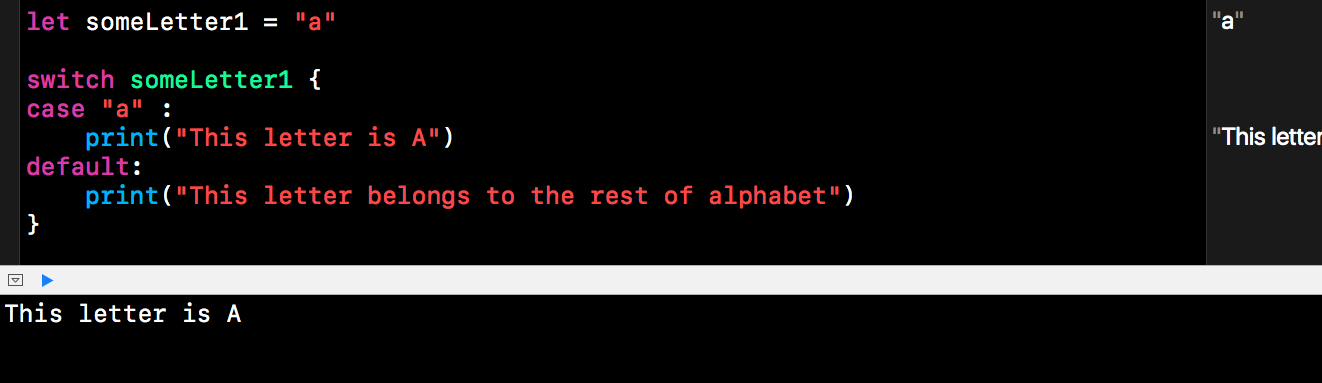
Let's try switch statement for string.
Example:
let someLetter1 = "a"

switch someLetter1 {
case "a" :
    print("This letter is A")
default:
    print("This letter belongs to the rest of alphabet")
}
What happen if our value is A instead of a

To consider both A and a, we use comma as shown below
let someLetter2 = "A"

switch someLetter2 {
case "a", "A" :
    print("This letter is A")
default:
    print("This letter belongs to the rest of alphabet")
}

No comments:
Post a Comment